Since our last meeting for the upcoming Chaos Communication Camp 2019, an idea got stuck in my head (many actually, but this post is just about that one):
Lasercut some trapezoid lamps that make for a cosy atmosphere in our lounge tent. Leave enough space inside to put in any (battery powered) light at hand. Make them easy to assembly, so we just need to transport the sheets of wood and can easily assemble several of them at the location.
After a short discussion on IRC about who had time and ideas for the right approach, I decided to give it a try myself and see what I could do in about half a day.
See photos and videos in the gallery.
First I went looking for a trapezoid box maker. Turns out, there is none that I could find. Here is an otherwise impressive list of joint and box scripts, which I came across.
I decided to draw the box by hand in Inkscape, based on two different sized cubic boxes generated with an Inkscape extension. From these, I would take the top and bottom parts and create the trapezoid sides by rotating the generated finger-joint borders. So far so good. Of course I made a mistake and duplicated the wrong sides, but realized this in time to not waste any wood.
Secondly I wanted the light to shine through an awesome looking design. Maybe throw some geeky shadows.
I went to images.google.com and started browsed for creative commons or copyright free SVGs and designs. Most links went to etsy or Pinterest. That sucked.
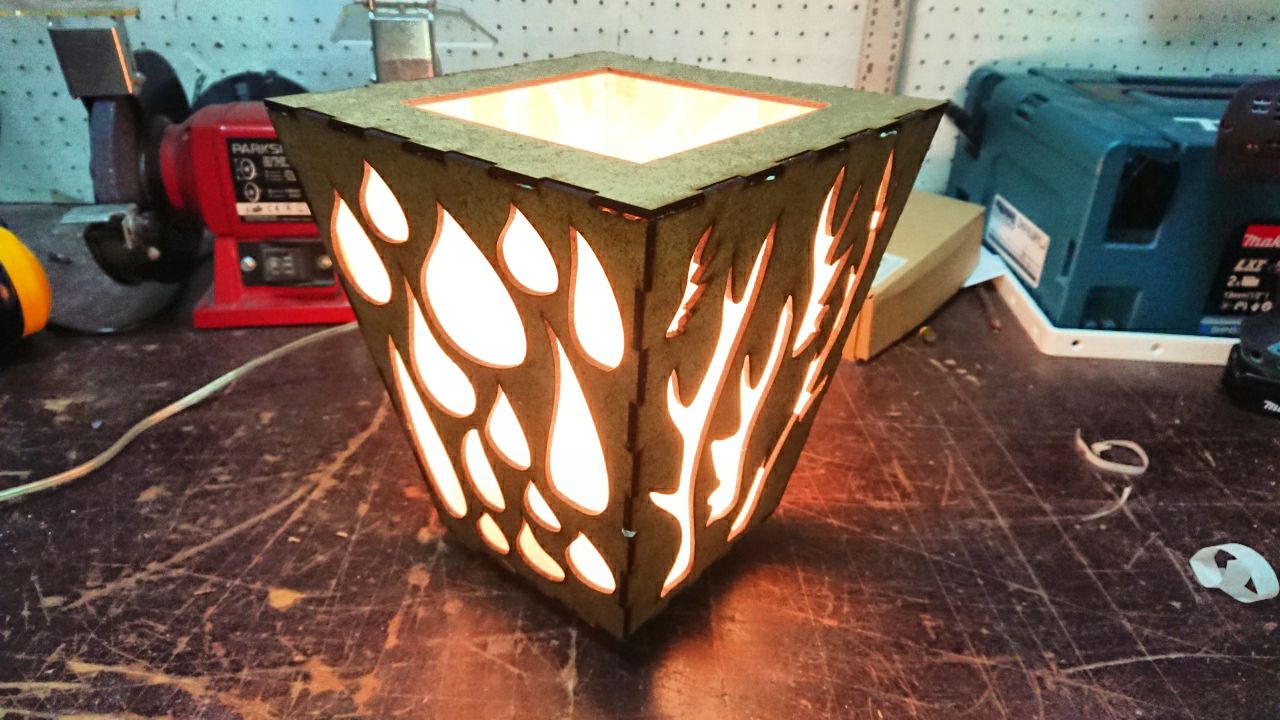
After quickly being fed up seeing price tags for simple SVGs, I decided to try my hand at drawing. Due to time constraints and out of concerns for stability I opted for thicker connections and larger windows instead of many fine patterns. Turns out, even a noob with the r3 Wacom tablet like me, can still manage to get workable results within an hour. Workable as proof of concept, anyway and not at all geeky. (My first attempt with drawing gears failed miserably) Our resident art critic found the result to be to „eso“-inspired for his liking. The direct view onto the lamp allowed by the bigger windows also turned out to be uncomfortable, so I had to glue in some backing paper as diffuser.
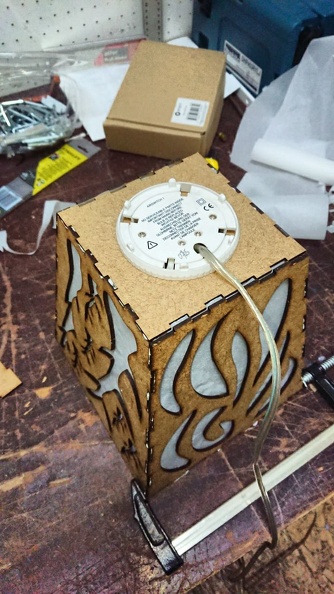
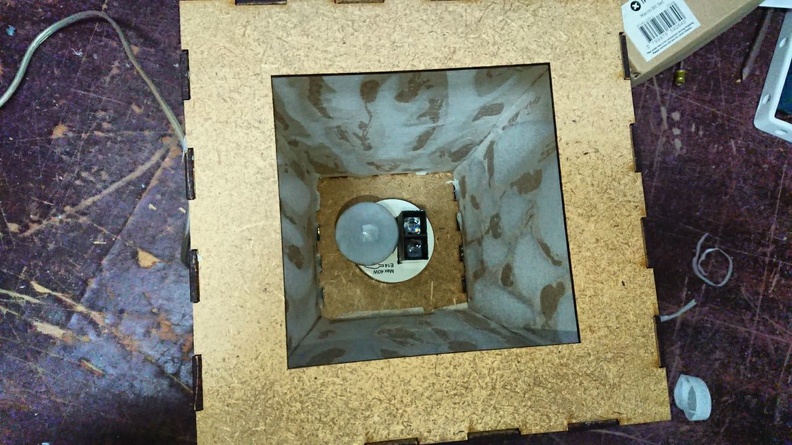
Third is the light source. The original idea was, to make enough space so we can put in any (battery powered) light that we might have at hand. I decided to deviate the prototype a bit by re-using the IR-handwave-controlled-light of an old broken Mathmos lamp of mine. All the modifcation that was needed is a cut-out circle at the bottom and the top for the sensor.
Finished Prototype:
 |
How did this project fail in it’s goal to make a lamp to quickly and easily assemble at CCCamp:
- Fail: Glue required for baking paper diffuser, required due to too large windows.
- Fail: Glue required for Finger-joints.
- Fail: Tools required so trapezoid does not fall apart while glue dries. Assembly took too much time.
- Fail: Mistakes made while drawing had to be fixed late with hot-glue, re-drawing and re-cutting.
- Concern: turned out to be larger than necessary
- Concern: Wood/MDF is recyclable and great for in-tent but maybe less fine for outdoor illumination.
How did this prototype succeed?
- It makes a nice enough lamp
- Enough space for any light one might want to put in.
- The IR-handwave-controlled-lamp-module was successfully revived in this lamp.
- I got to play with the Wacom Tablet
- It makes a nice in-tent / in-door lamp that will find it’s way to CCCamp2019 despite it’s failings
- Lessons were learned
Lessons learned:
- Rather than drawing patterns ourselves, we should use Japanese Fonts: Write Matrix-Style column text using Hiragana and Katakana in small laser-cut-able letters.
- Drawing the trapezoid box in Inkscape by hand is way too inflexible and does not allow for quick changes to material thickness or lamp size.
- Drawing this in Inkscape by hand was prone to errors.
- Wood is great for in-tent/in-doors but requires treatment for outdoor use. At that point we might consider cutting some lamps from Acrylic rather than treating the wood with laminating foil or lacquer.
- Big holed patterns make less impressive light patterns even though they allow for more stable sides.
- Big holed patterns require a diffuser like baking paper that needs to be glued on.
- Don’t just copy&paste side panels, remember that joints need to fit together.
- Two side panels needs to be less wide by $materialthickness if one wants a quadratic bottom and top.
- Finger-joints are a bad choice for quick and glue-less assembly. Examples for designs that might not require glue: [1], [2]