Allrad Bobbycar

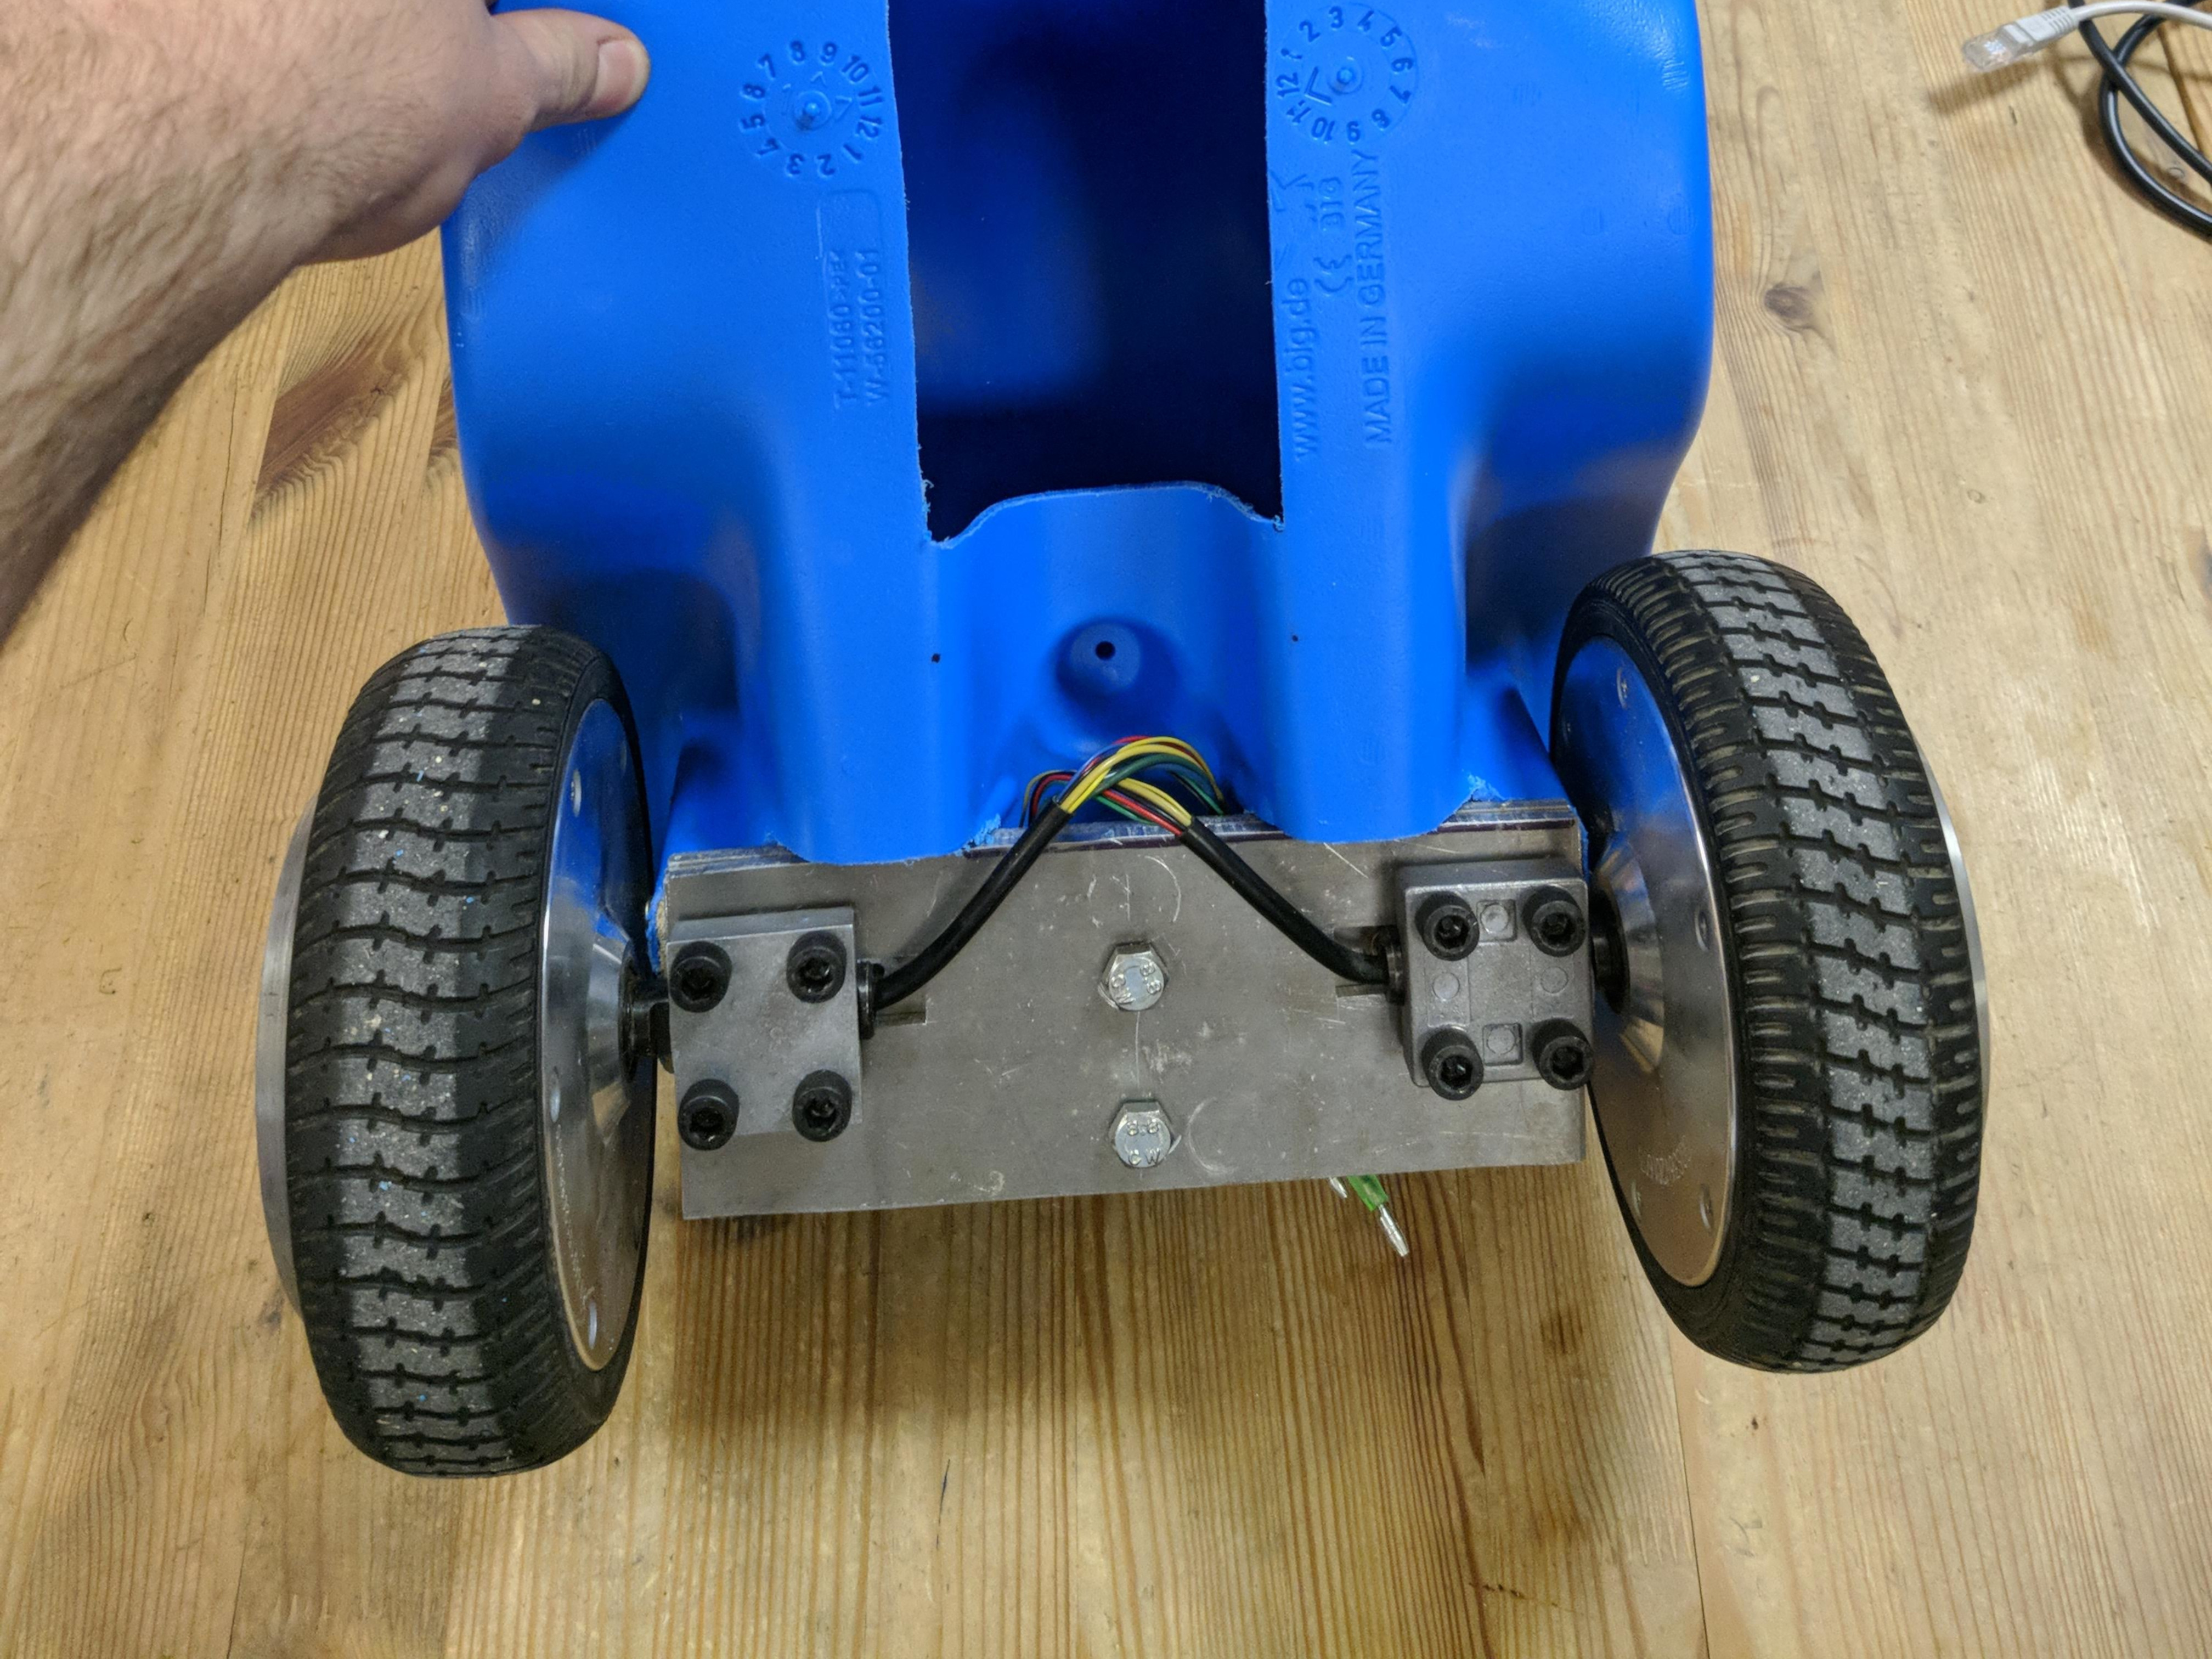
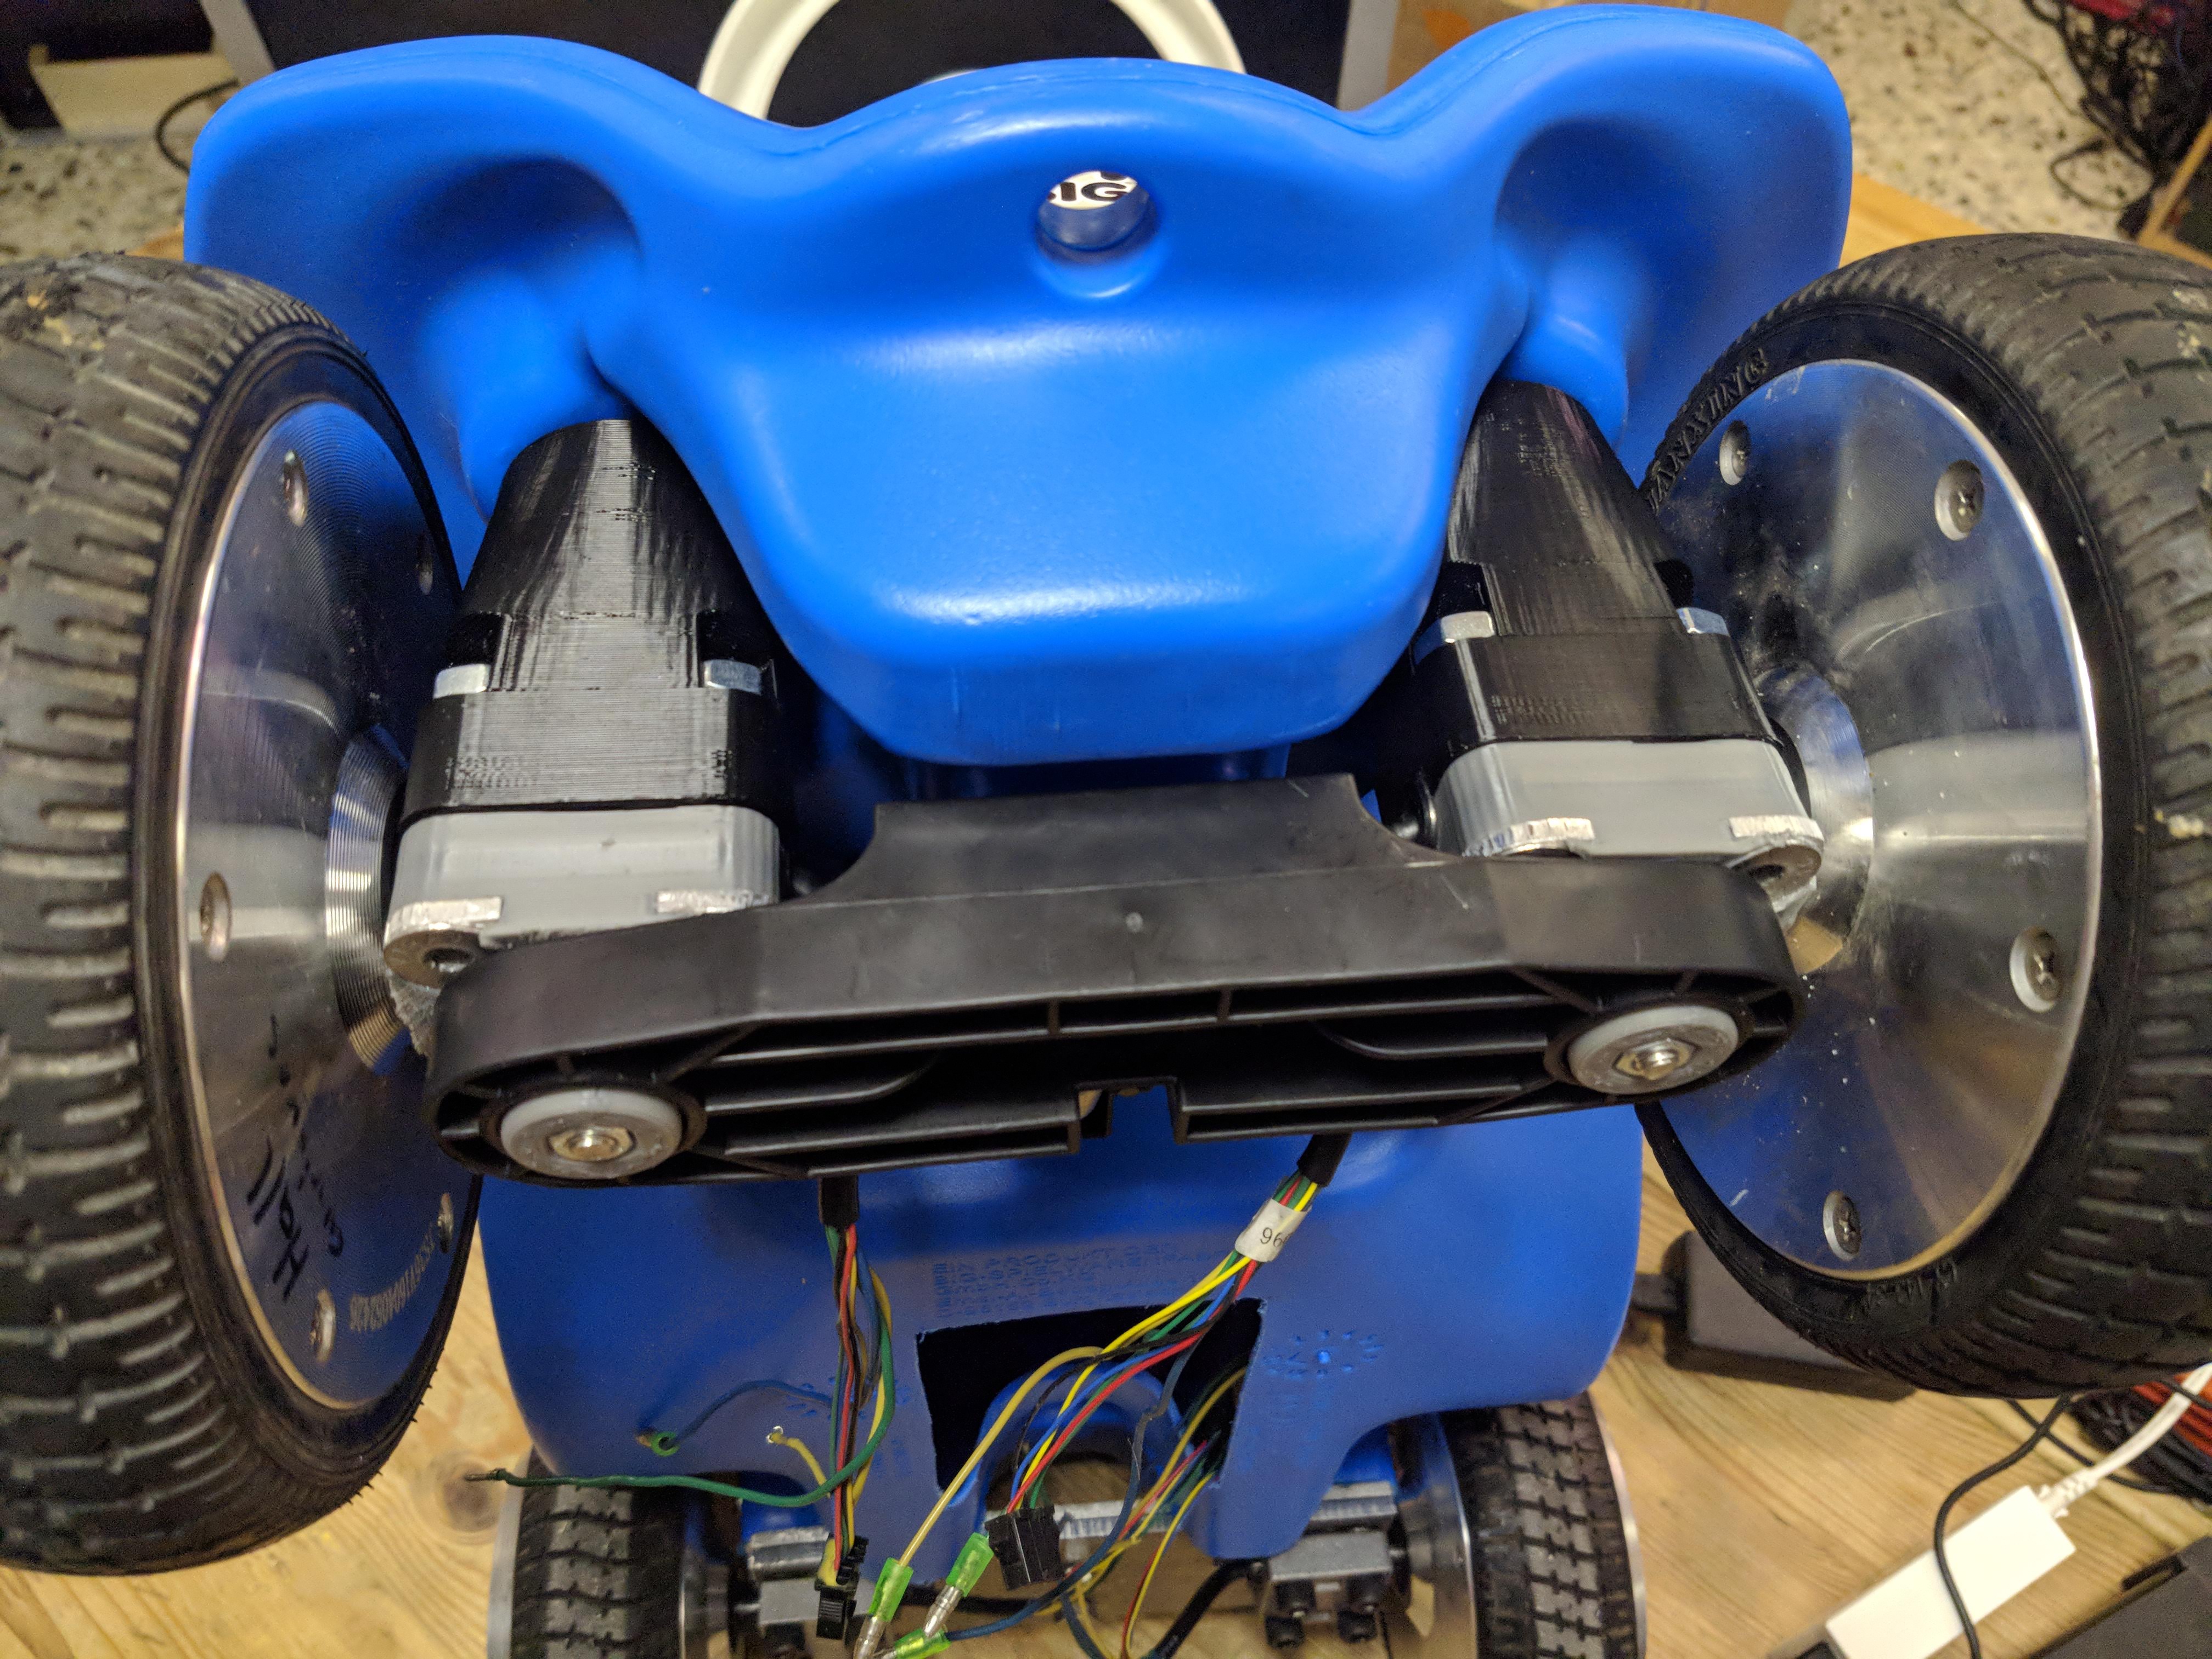
Für die Maker Faire und ähnliche Events benötigen wir unbedingt ein Bobbycar mit Allradantrieb. Da es bereits ähnliche Projekte von Lars und Fisch gibt, fiel die Wahl auch bei uns Hoverboard Motoren. Diese können aus defekten Hoverboards ausgebaut werden.

img_20190123_235630

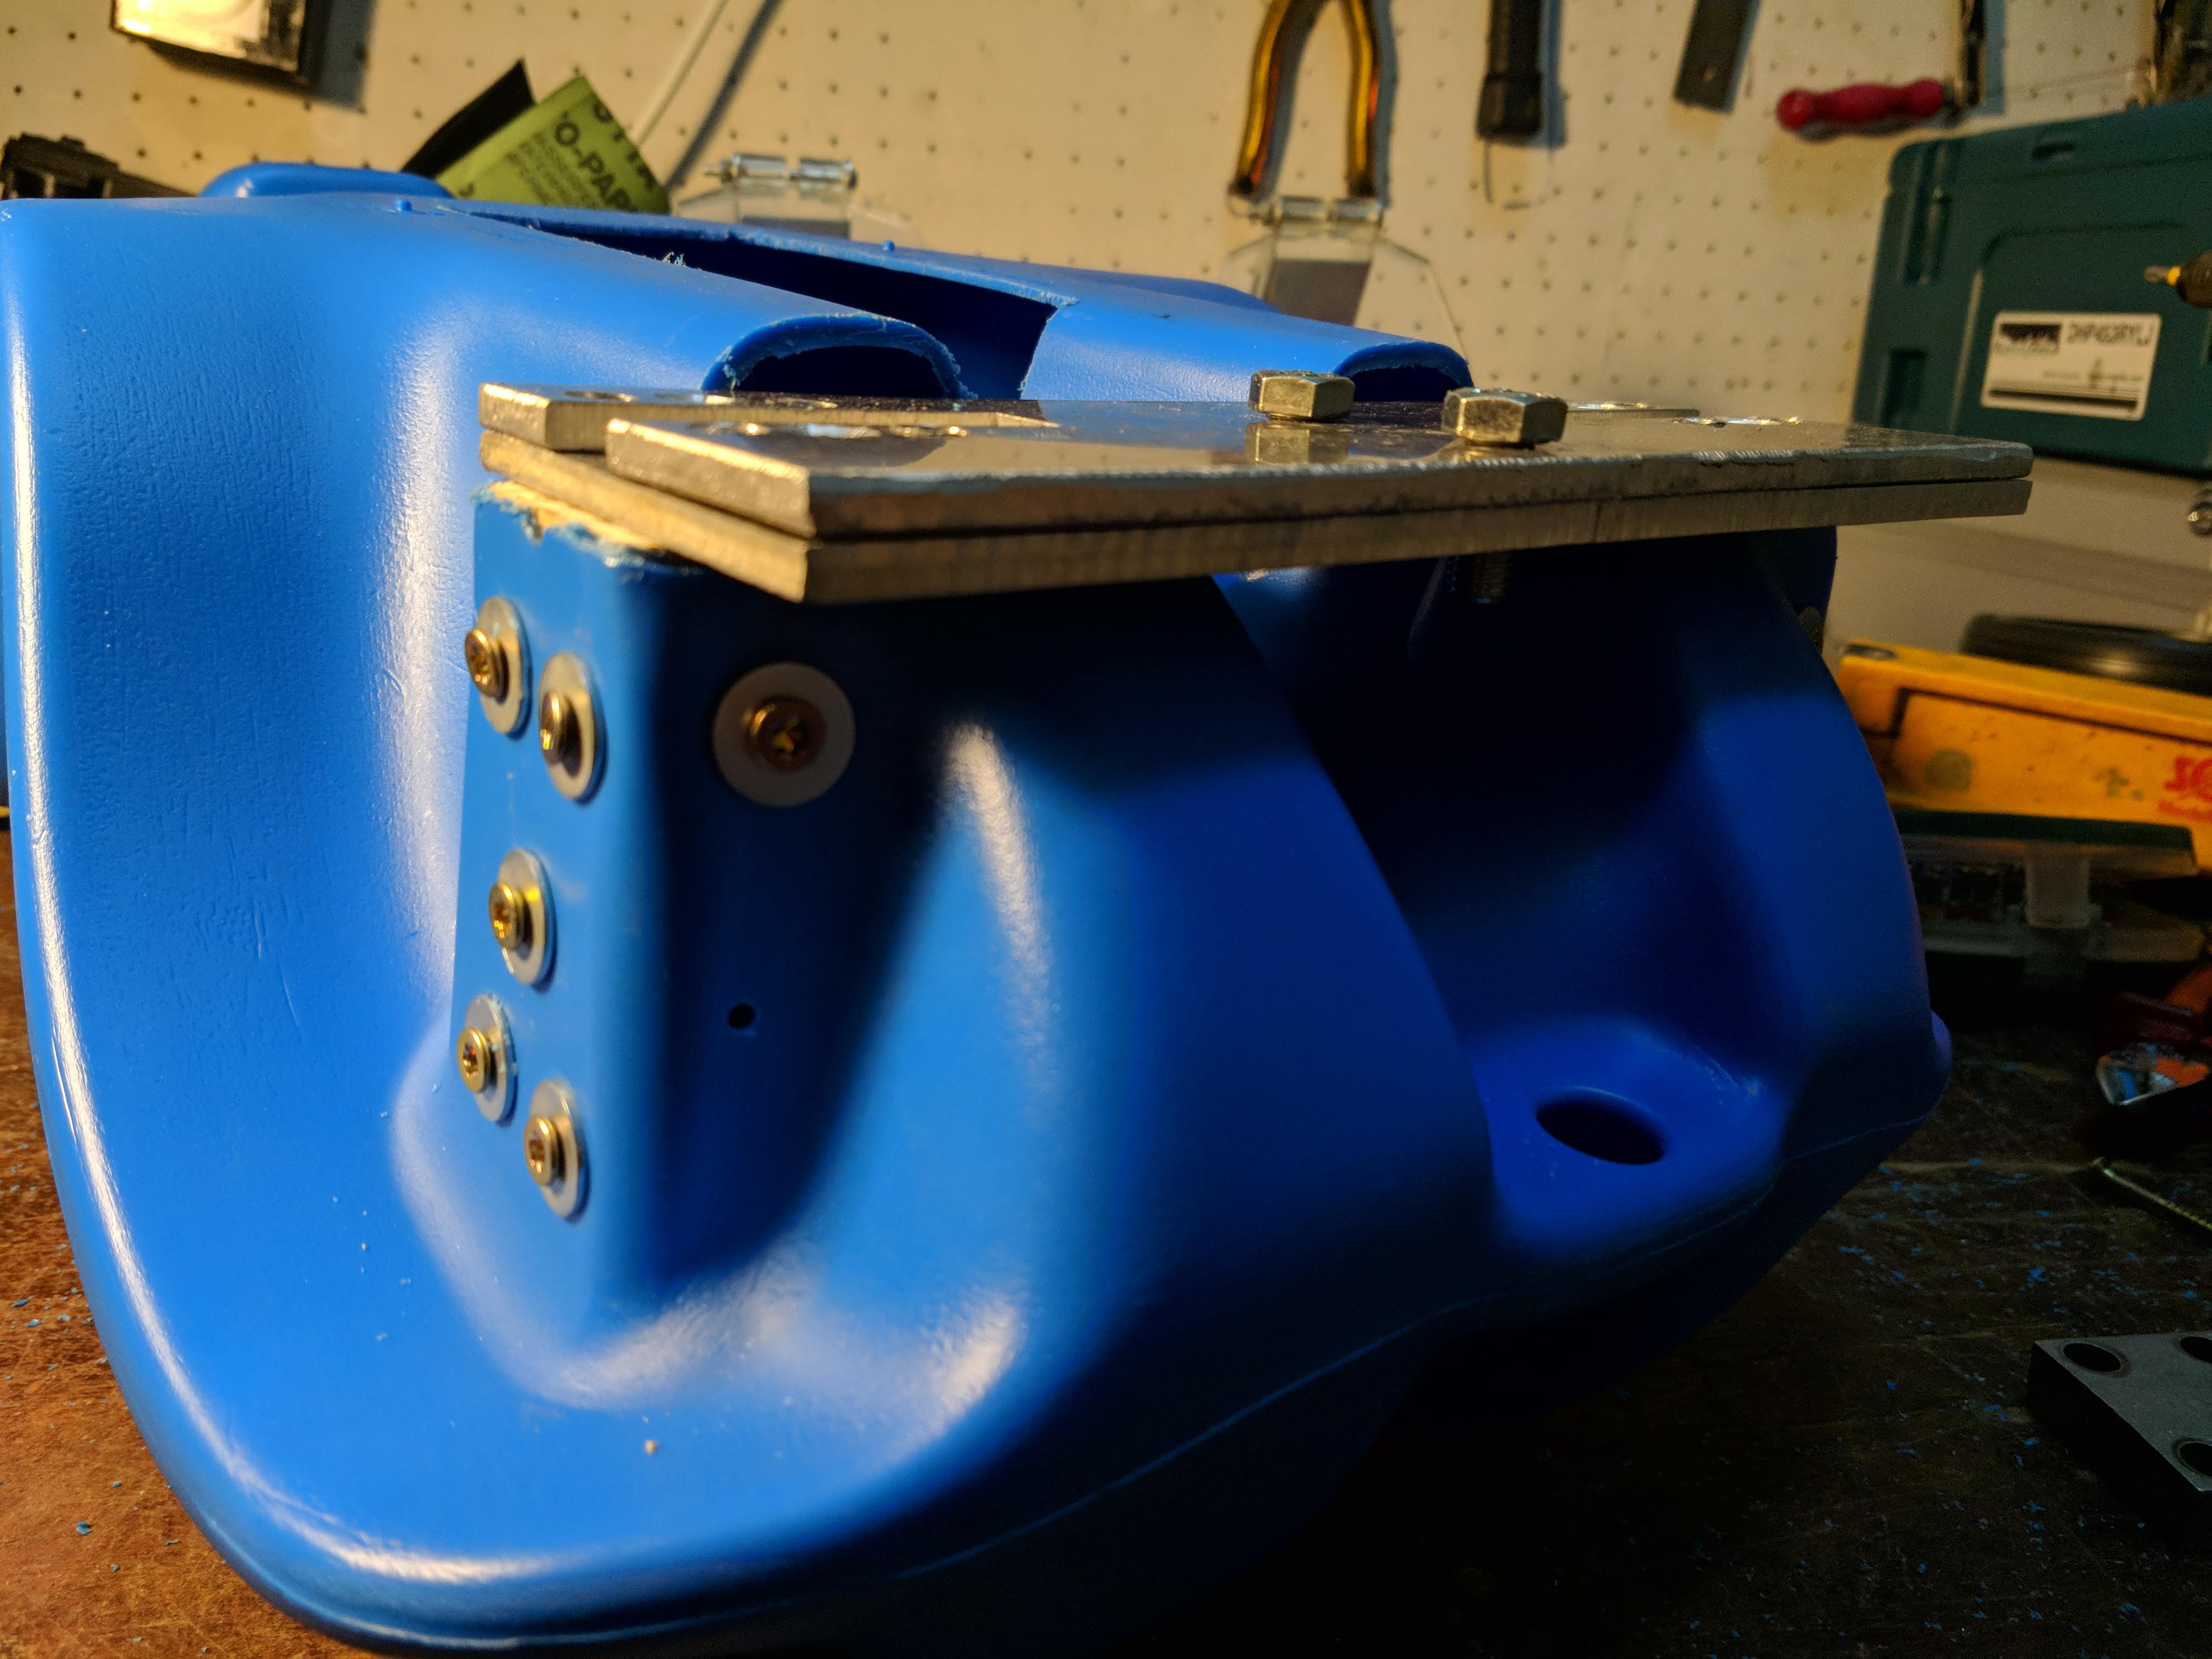
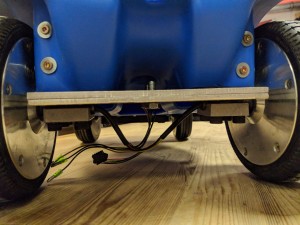
Die hinteren Motoren wurden an einer Alu Platte befestigt:

img_20190119_212156img_20190119_212150img_20190120_011052img_20190120_011025-kopie

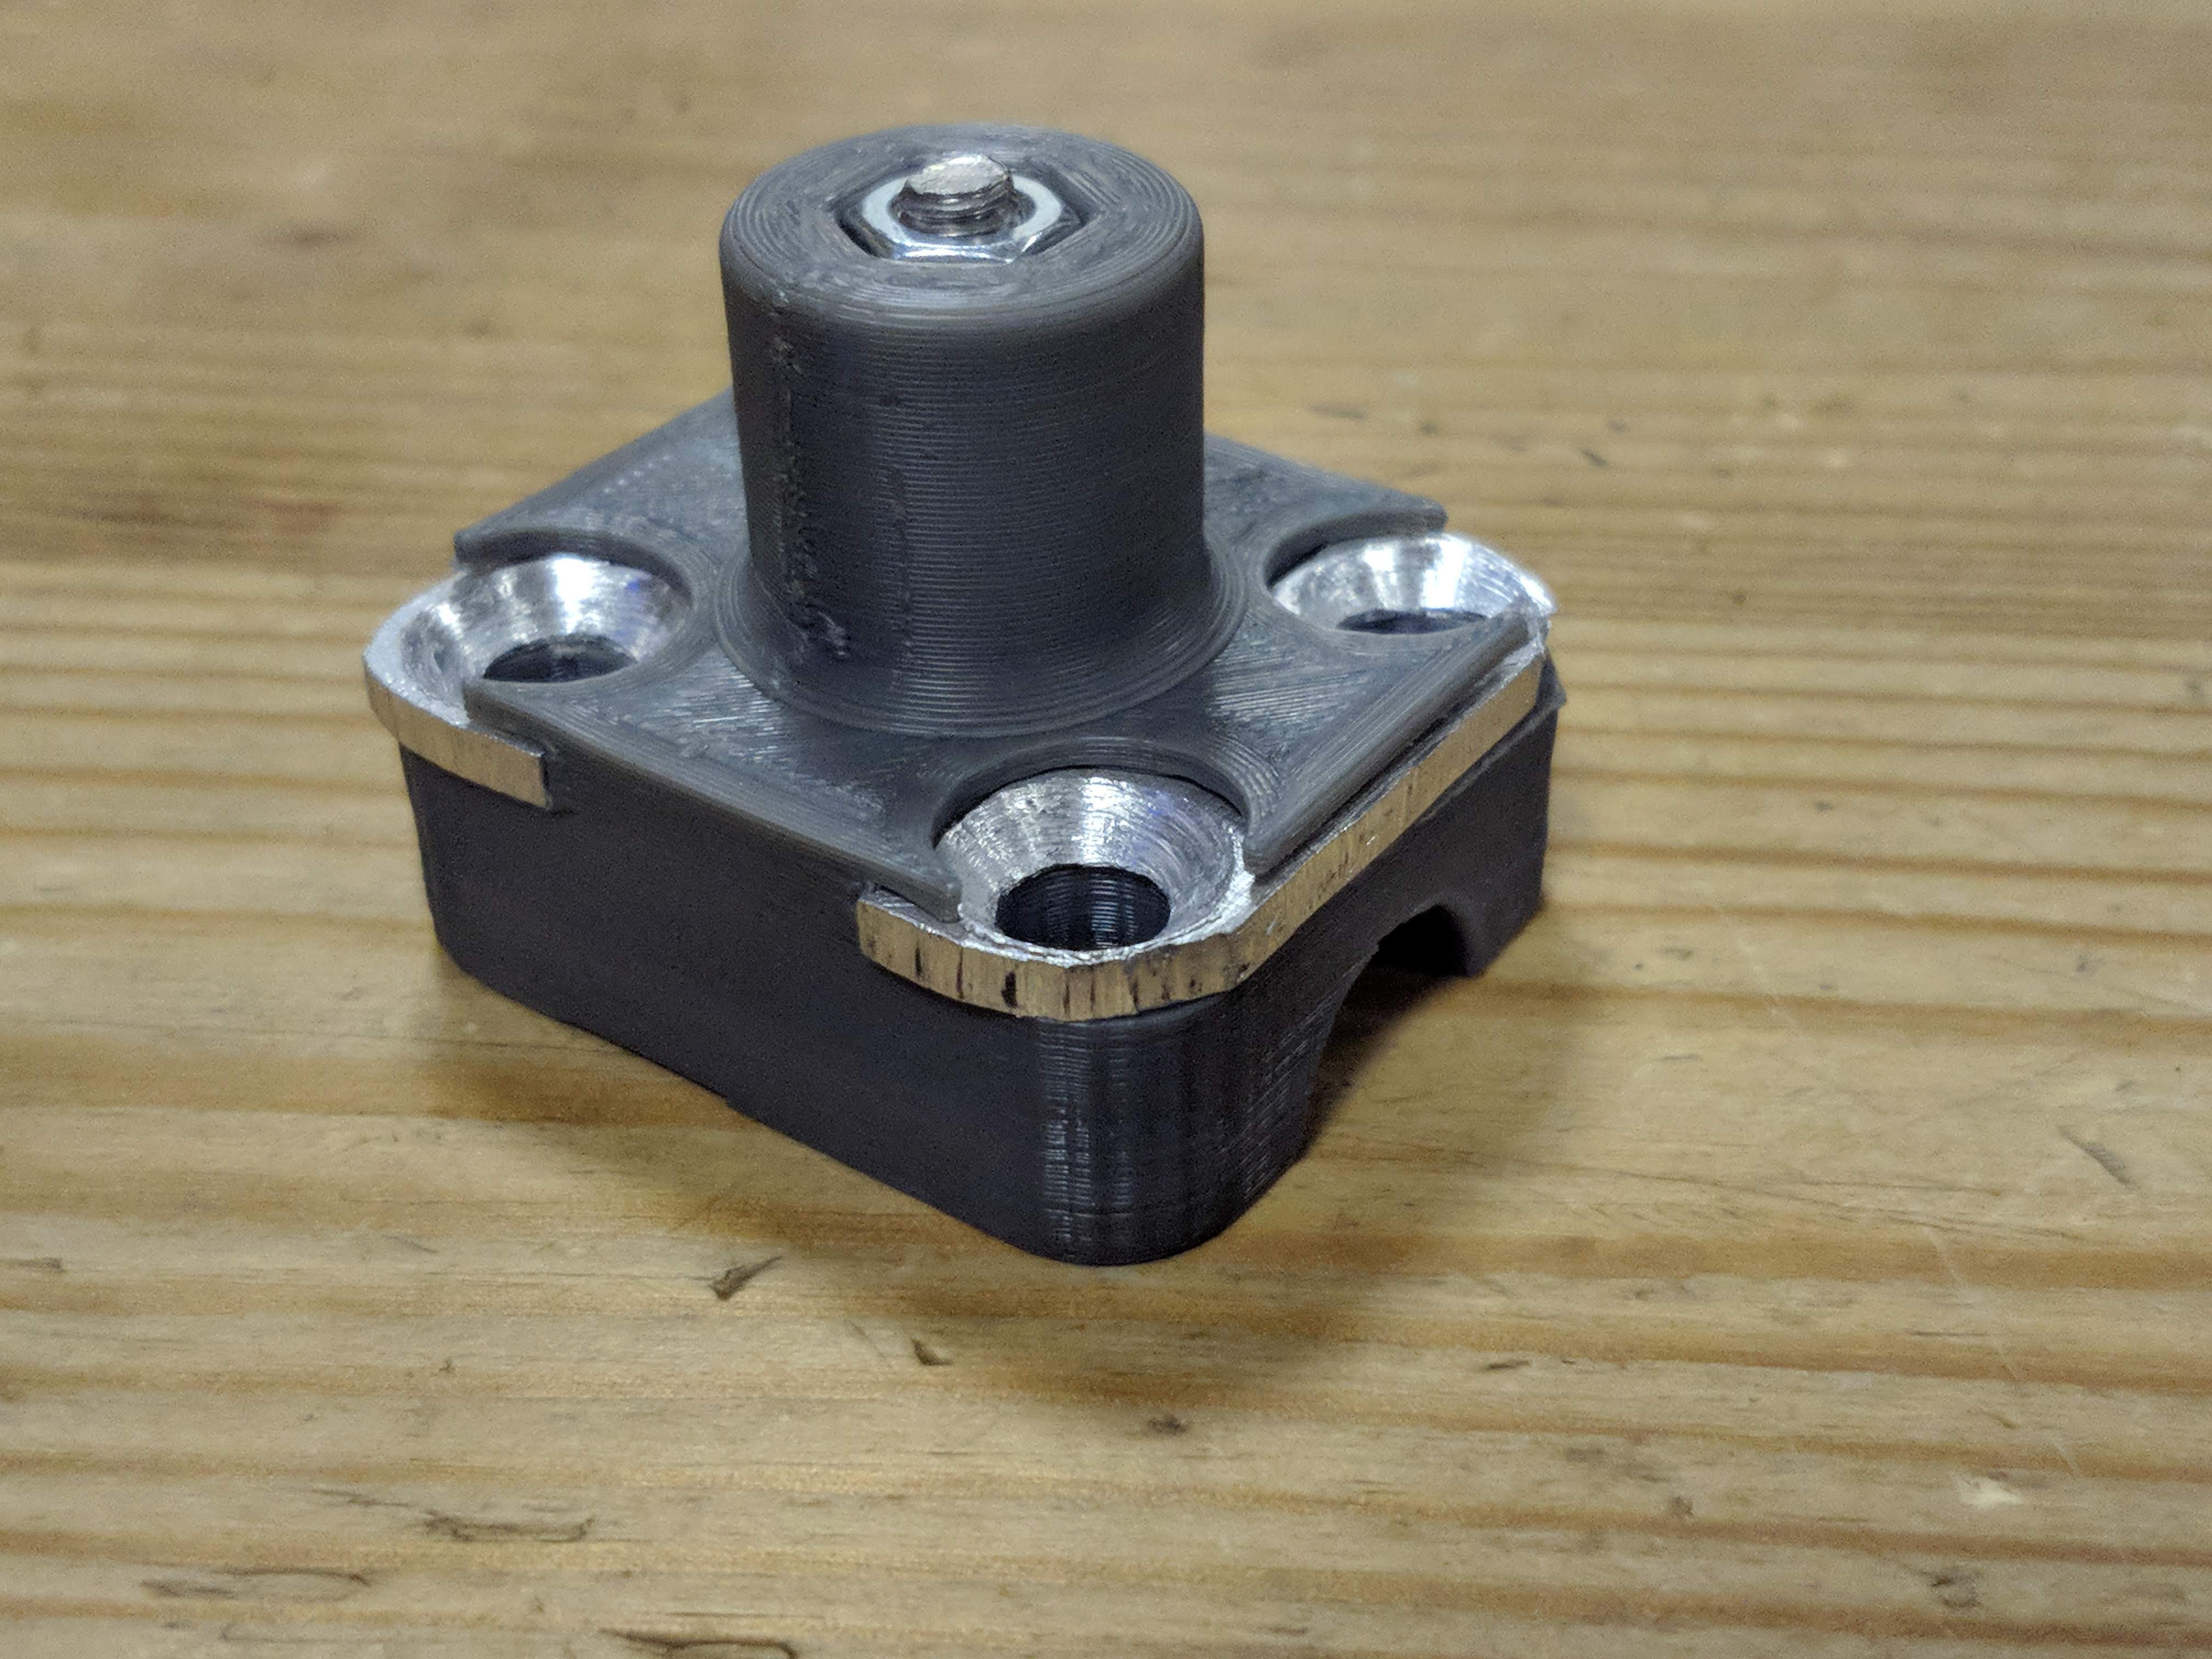
Die beiden vorderen Motoren haben 3D gedruckte Halterungen bekommen. Sobald wir eine CNC Fräse haben, werden wir die 3D gedruckten Teile durch Frästeile ersetzen. Damit es nicht ganz so schnell kaputt geht, haben wir die 3D gedruckten Teile mit etwas Aluminium verstärkt.

img_20190123_232945img_20190123_235701img_20190123_235642img_20190123_235650

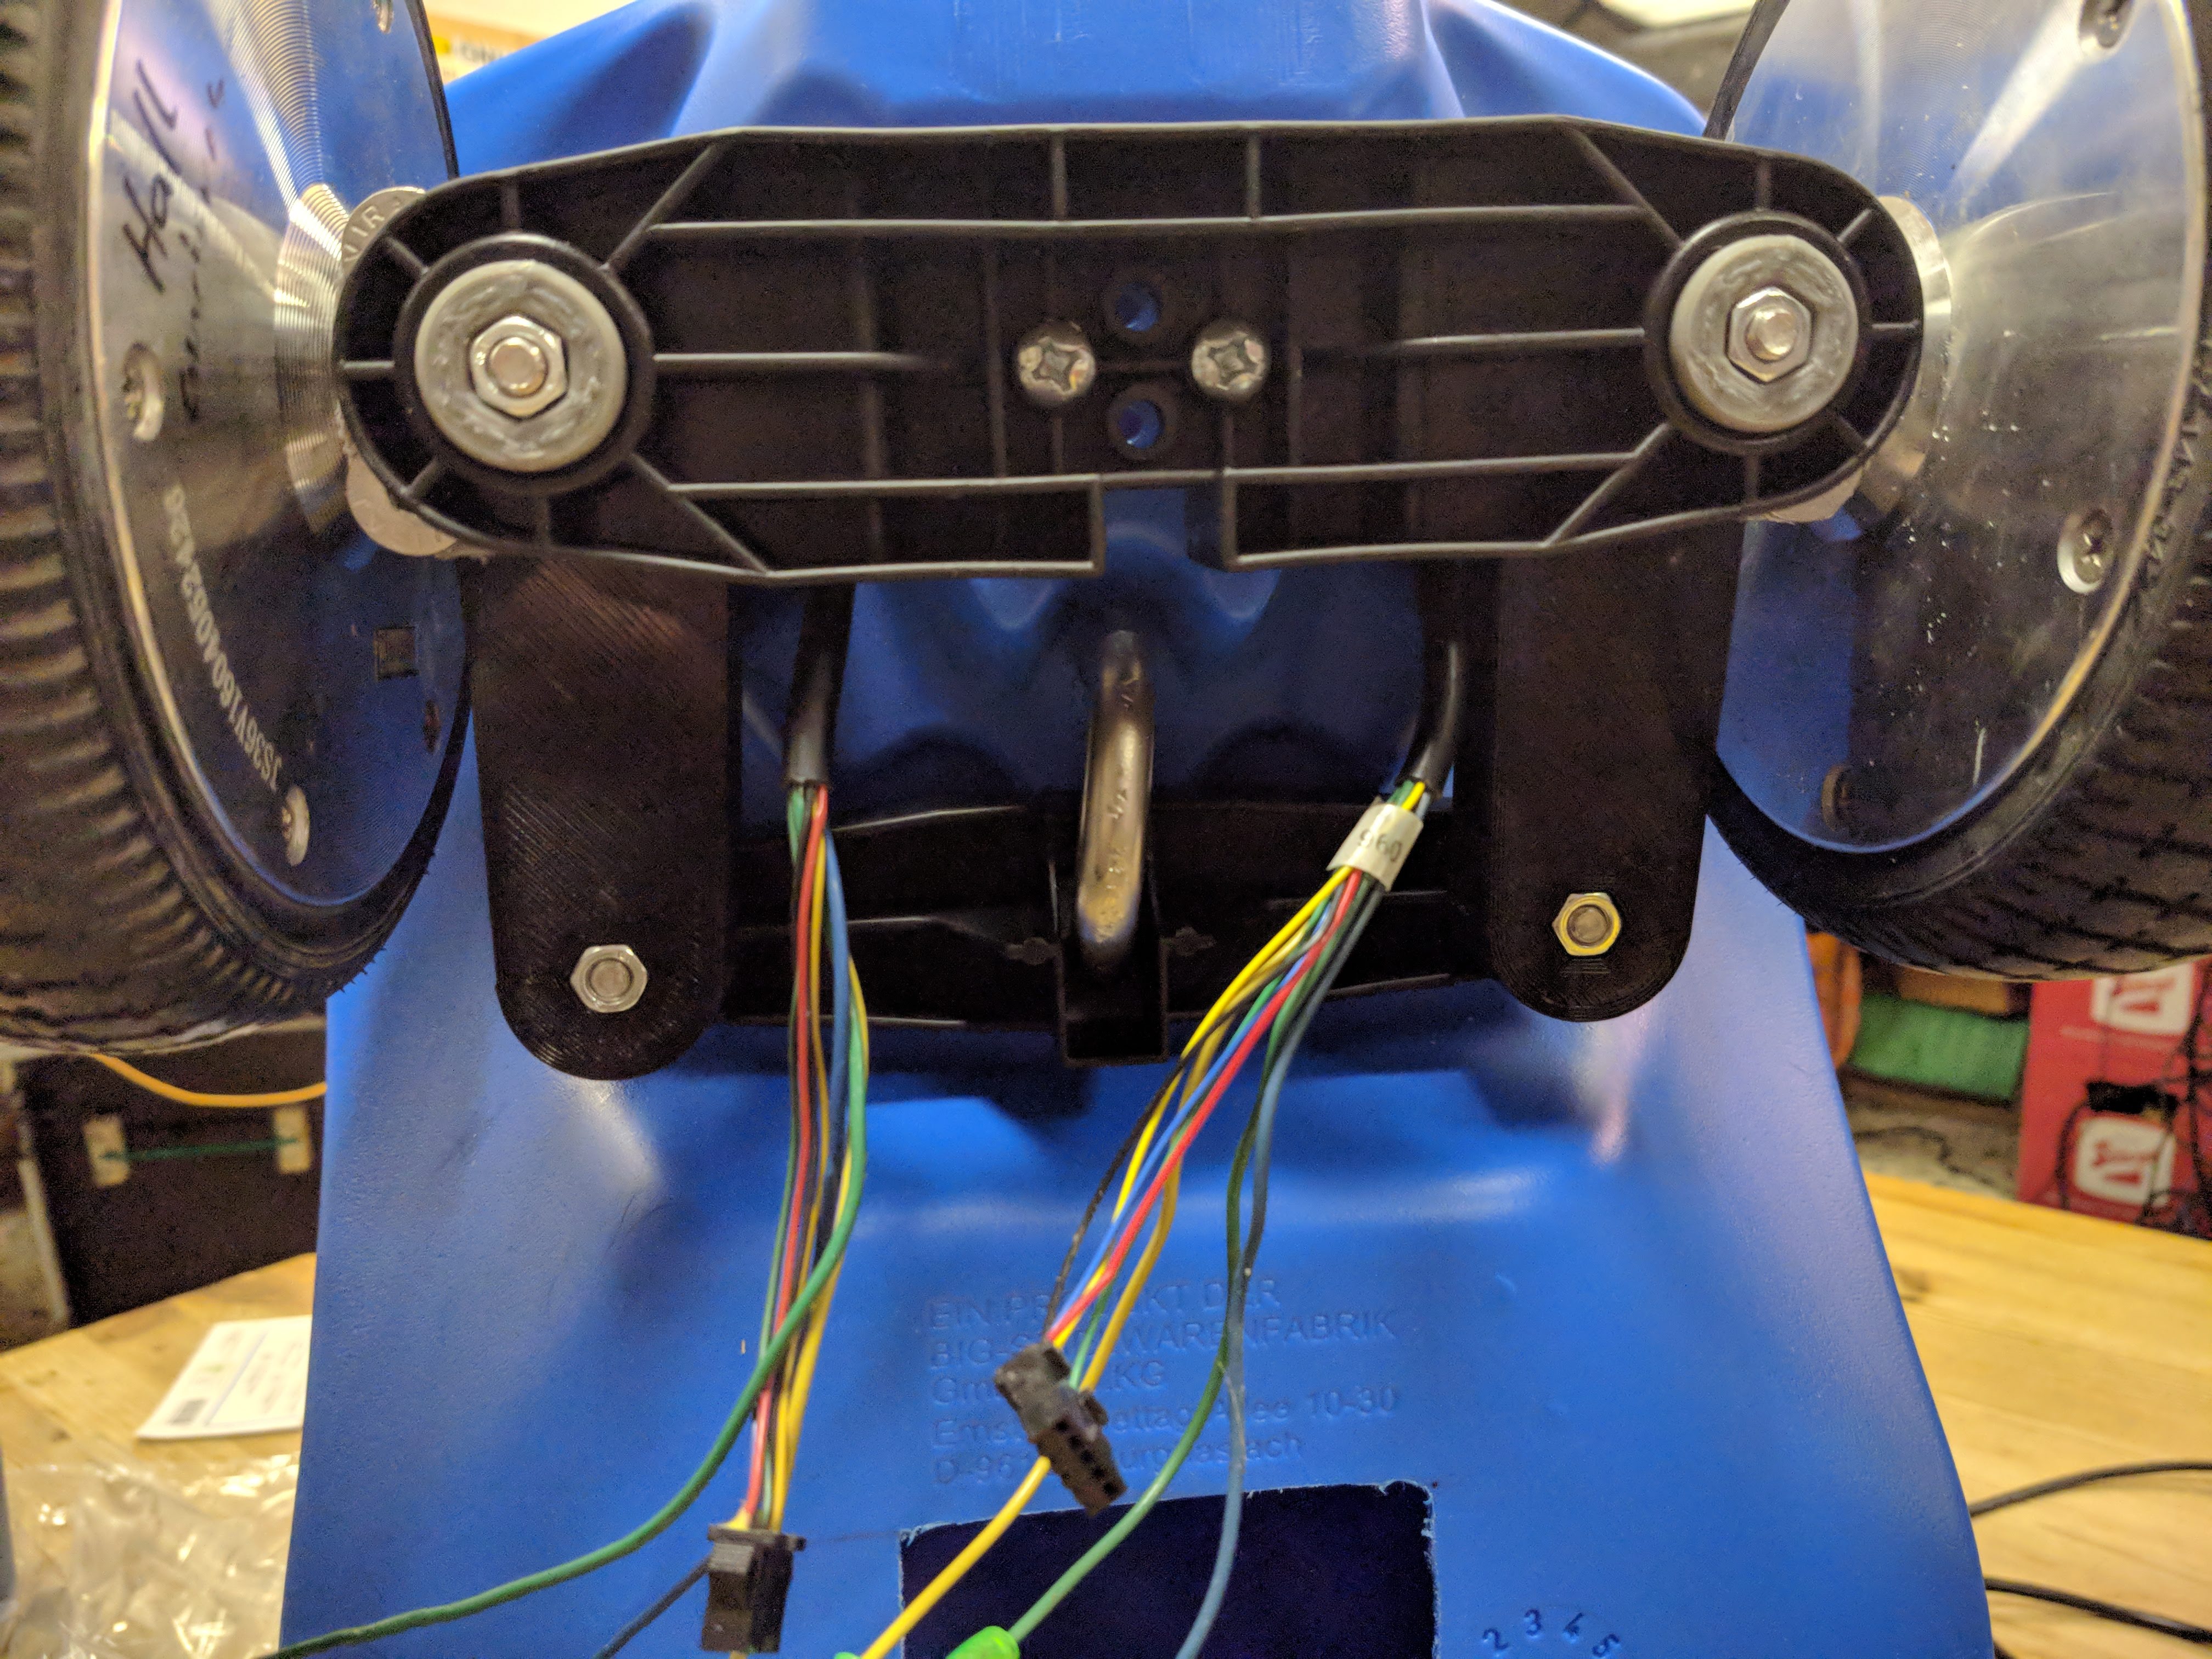
Das Bobbycar bekommt in den nächsten Wochen noch einen Akku, bestehend aus bis zu 180 Stück 18650er Zellen (je nachdem wieviele wir in das Gehäuse bekommen). Auch die Motorcontroller müssen noch mit Joysticks am Lenkrad verbunden werden.

LoTHR mini Electronics Workbench

As you might know, quite a while ago, our electronics lab TESLA moved to the second flat „W2“. There is a lot more space and equipment for electronic hackery now, BUT. We found that sometimes it would be nice to have some basic soldering capability in our main lounge „LoTHR“ as well. Fret no more, with our new workbench (Work in Progress) we also set up a a micro electronics area.

These absolute basics currently consisting of:

  1. Soldering Iron (DC/DC mini T12 Station)
  2. Lab-Power-Supply (DC/DC up to 30V / 5A)
  3. a Multimeter

Note that it is not meant to replace TESLA. Just to keep you from moving your project all the way to ‚W2″ if all you need to do is solder two wires or check one voltage.


Building the micro electronics box

Basically I got us a DPS3005 constant current / constant voltage power supply and a small KSGER soldering station and connected them to a 27V 3.5A power supply.

Then, as per Ernst’s suggestion, we put everything into a nice and sturdy box which formally housed external SCSI HDDs.

The front-panel was laser-cut so all the equipment would fit and voila, after a few hours putting everything together, here we are.

As a finishing touch, a T12-soldering-tip-holder was printed and taped to the side.

Further documentation can be found in our Wiki and more photos in our Gallery.

Testing the Box
Testing the Box