WIFI+MQTT Smoke-Detector with 5yrs battery and ESP8266

Read about Flocx’s current project, a battery-saving WIFI+MQTT-enabling cheap smoke-detector here: https://blog.flo.cx/2018/08/ikea-diy-smart-smoke-detector/

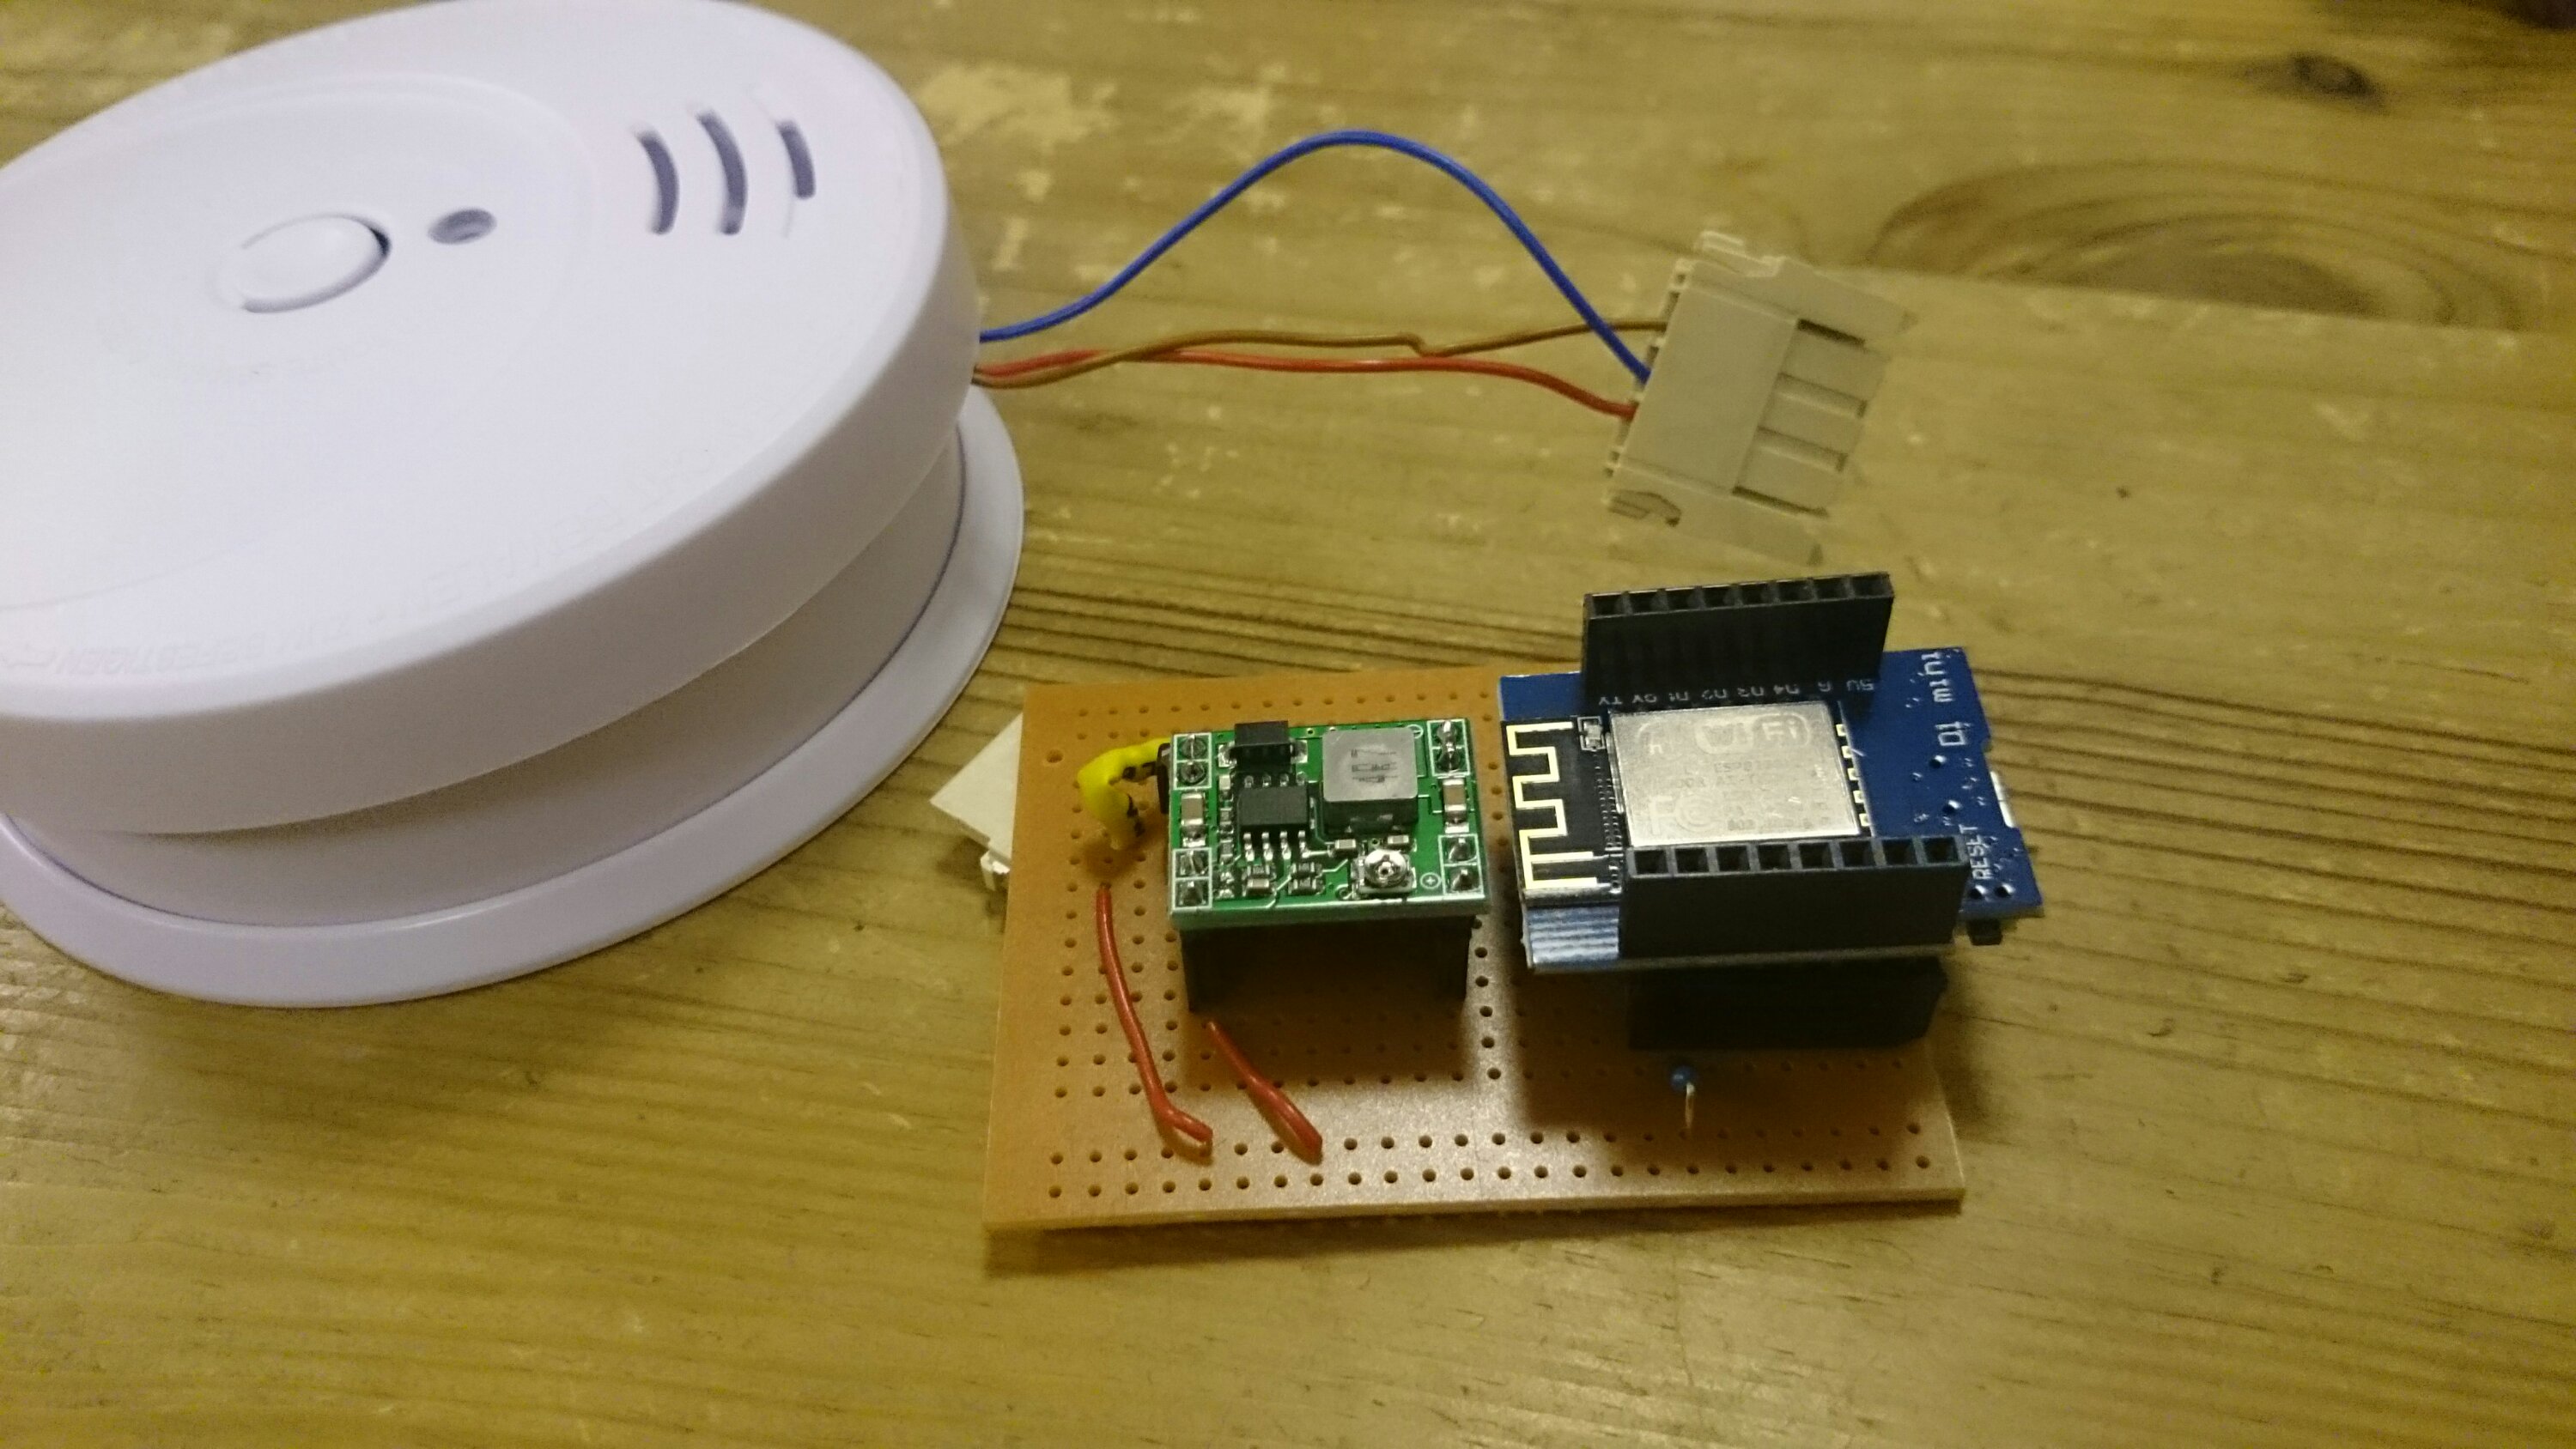
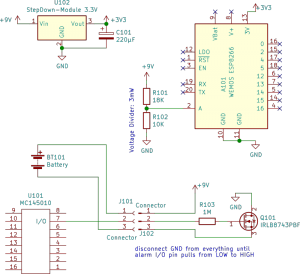
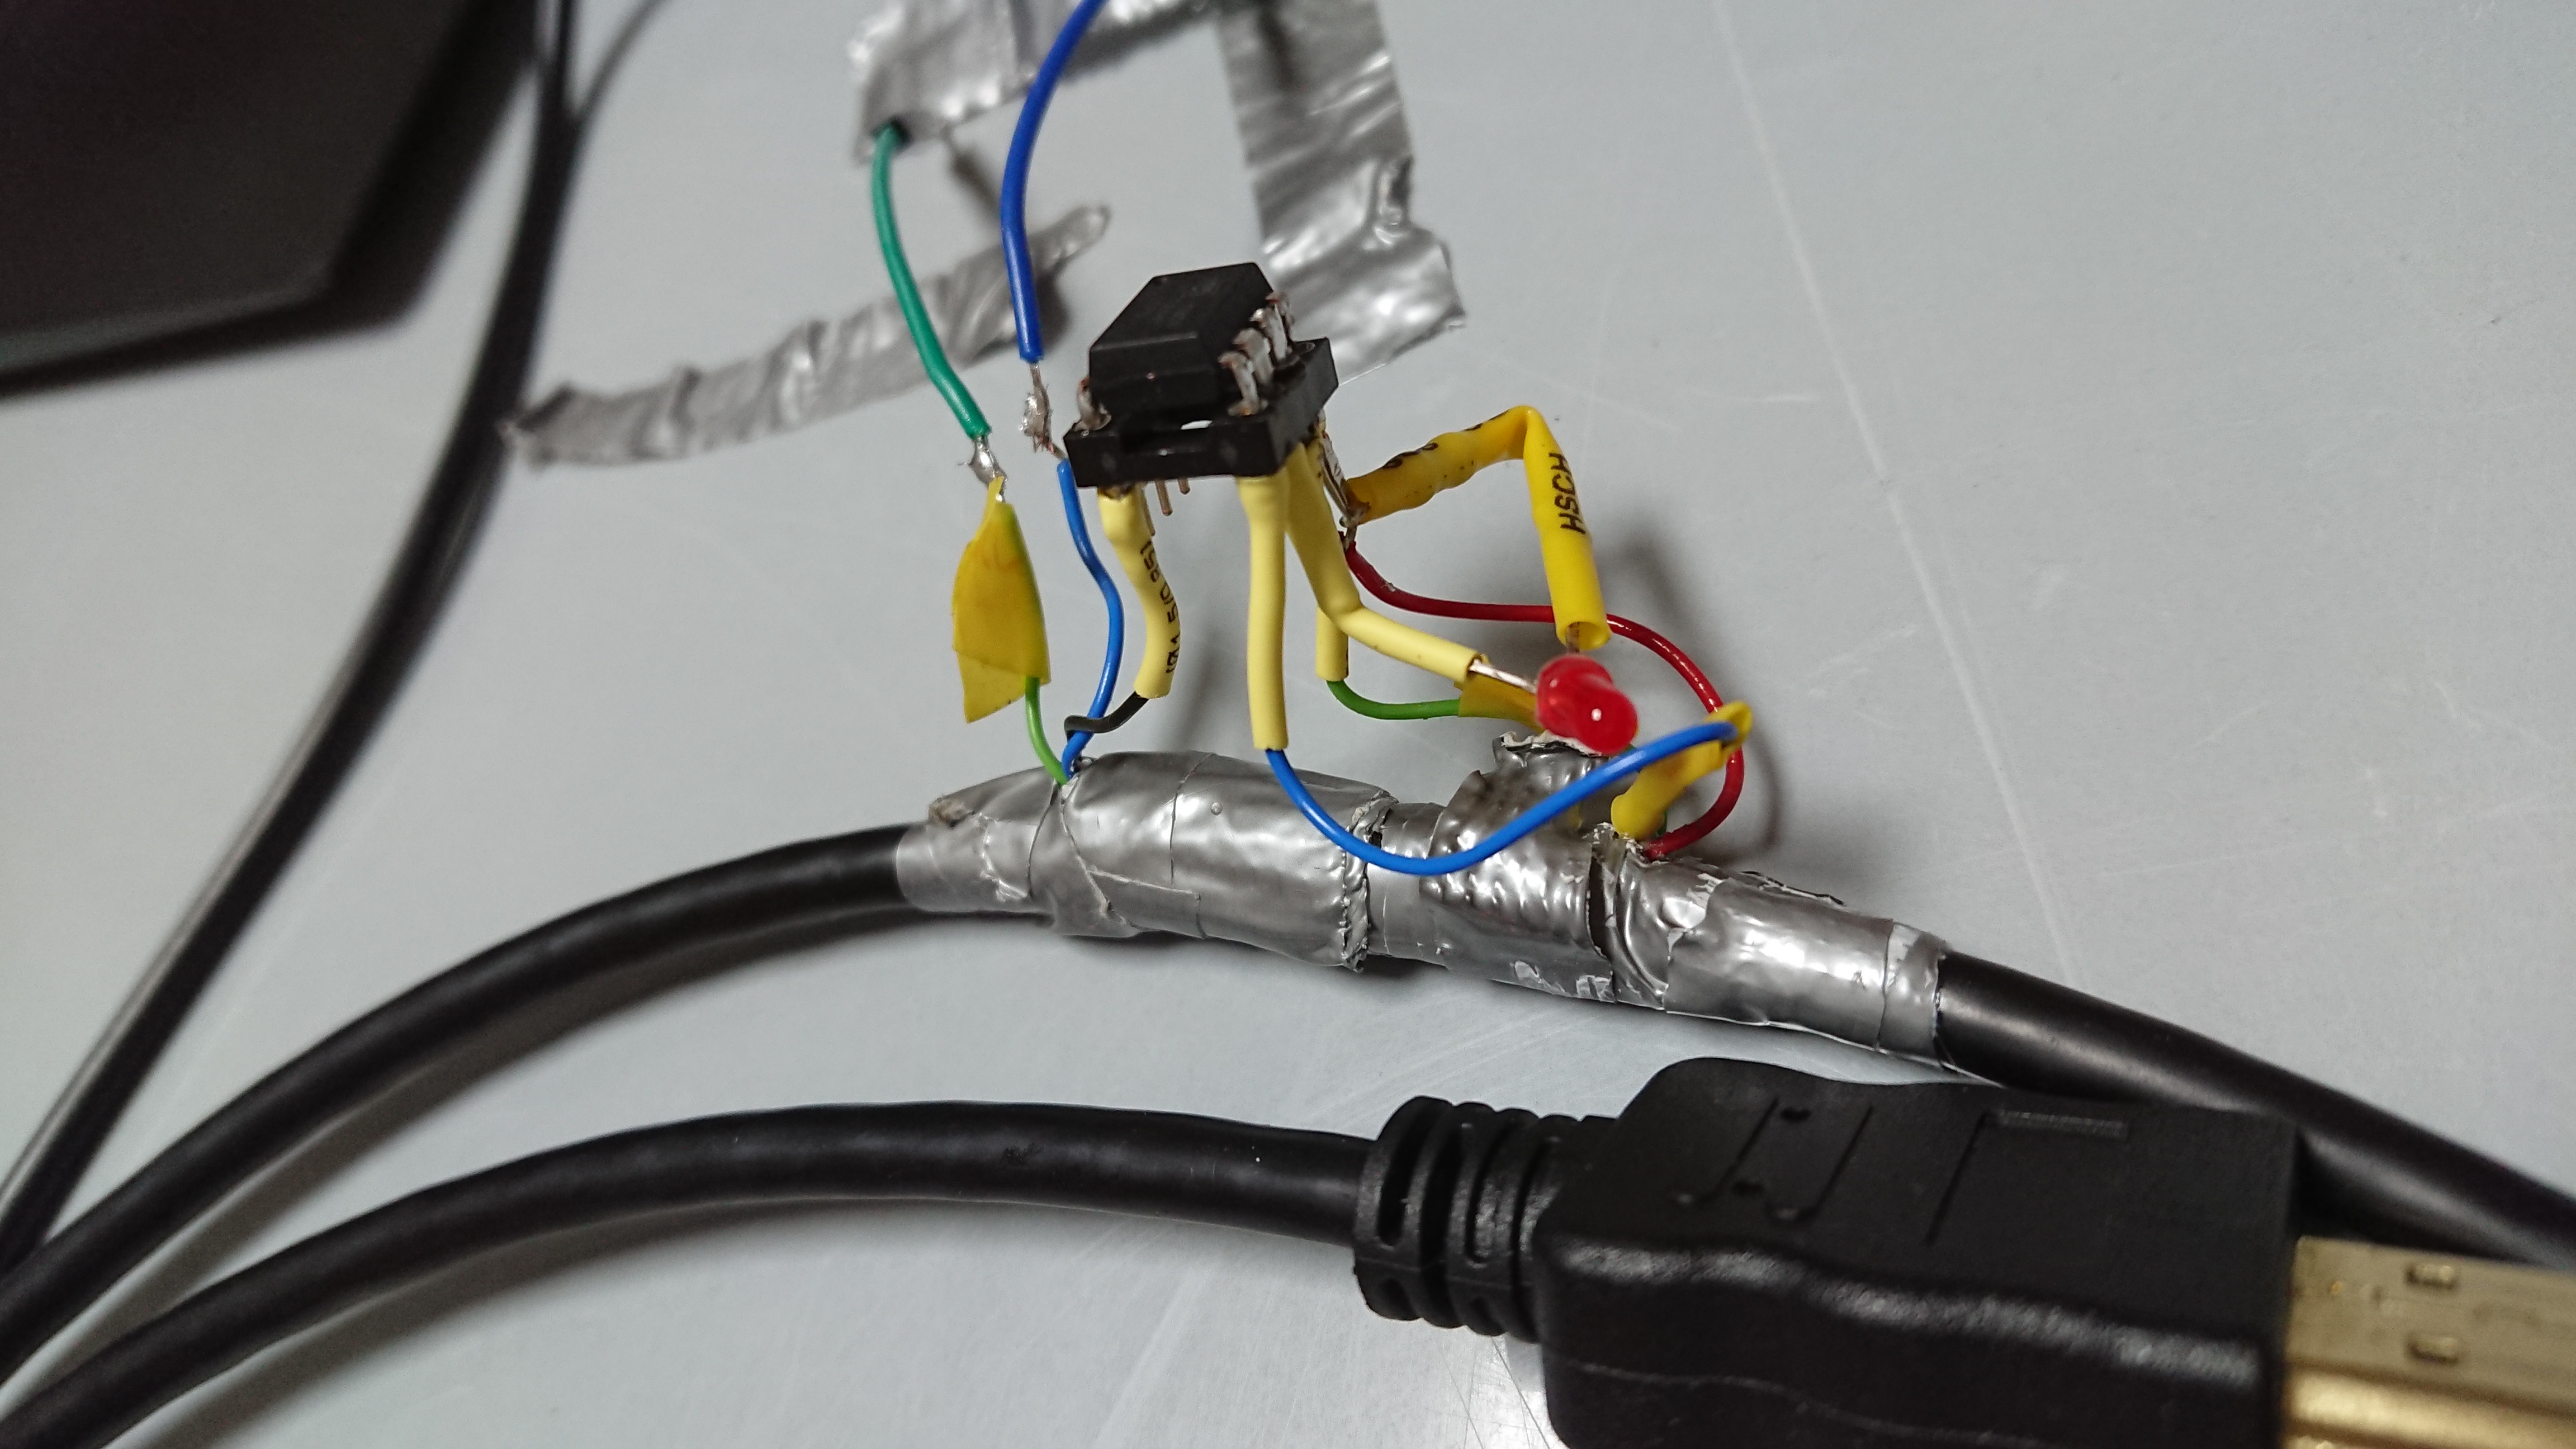
I wanted to do the same thing for my flat, but instead of using the IKEA one, I ordered two cheap 7€ SmartWares detectors from Amazon with 9V batteries that are advertised to give 5yrs battery life and otherwise identical hardware. Also instead of µPython I used Sming and C++. Just for the fun of it, I also added a voltage divider that measures the battery voltage at the time of alarm.

You can find my firmware on GitHub.

esp8266_smokedetector

Todo for the future: motivate someone to do this for realraum. ;->

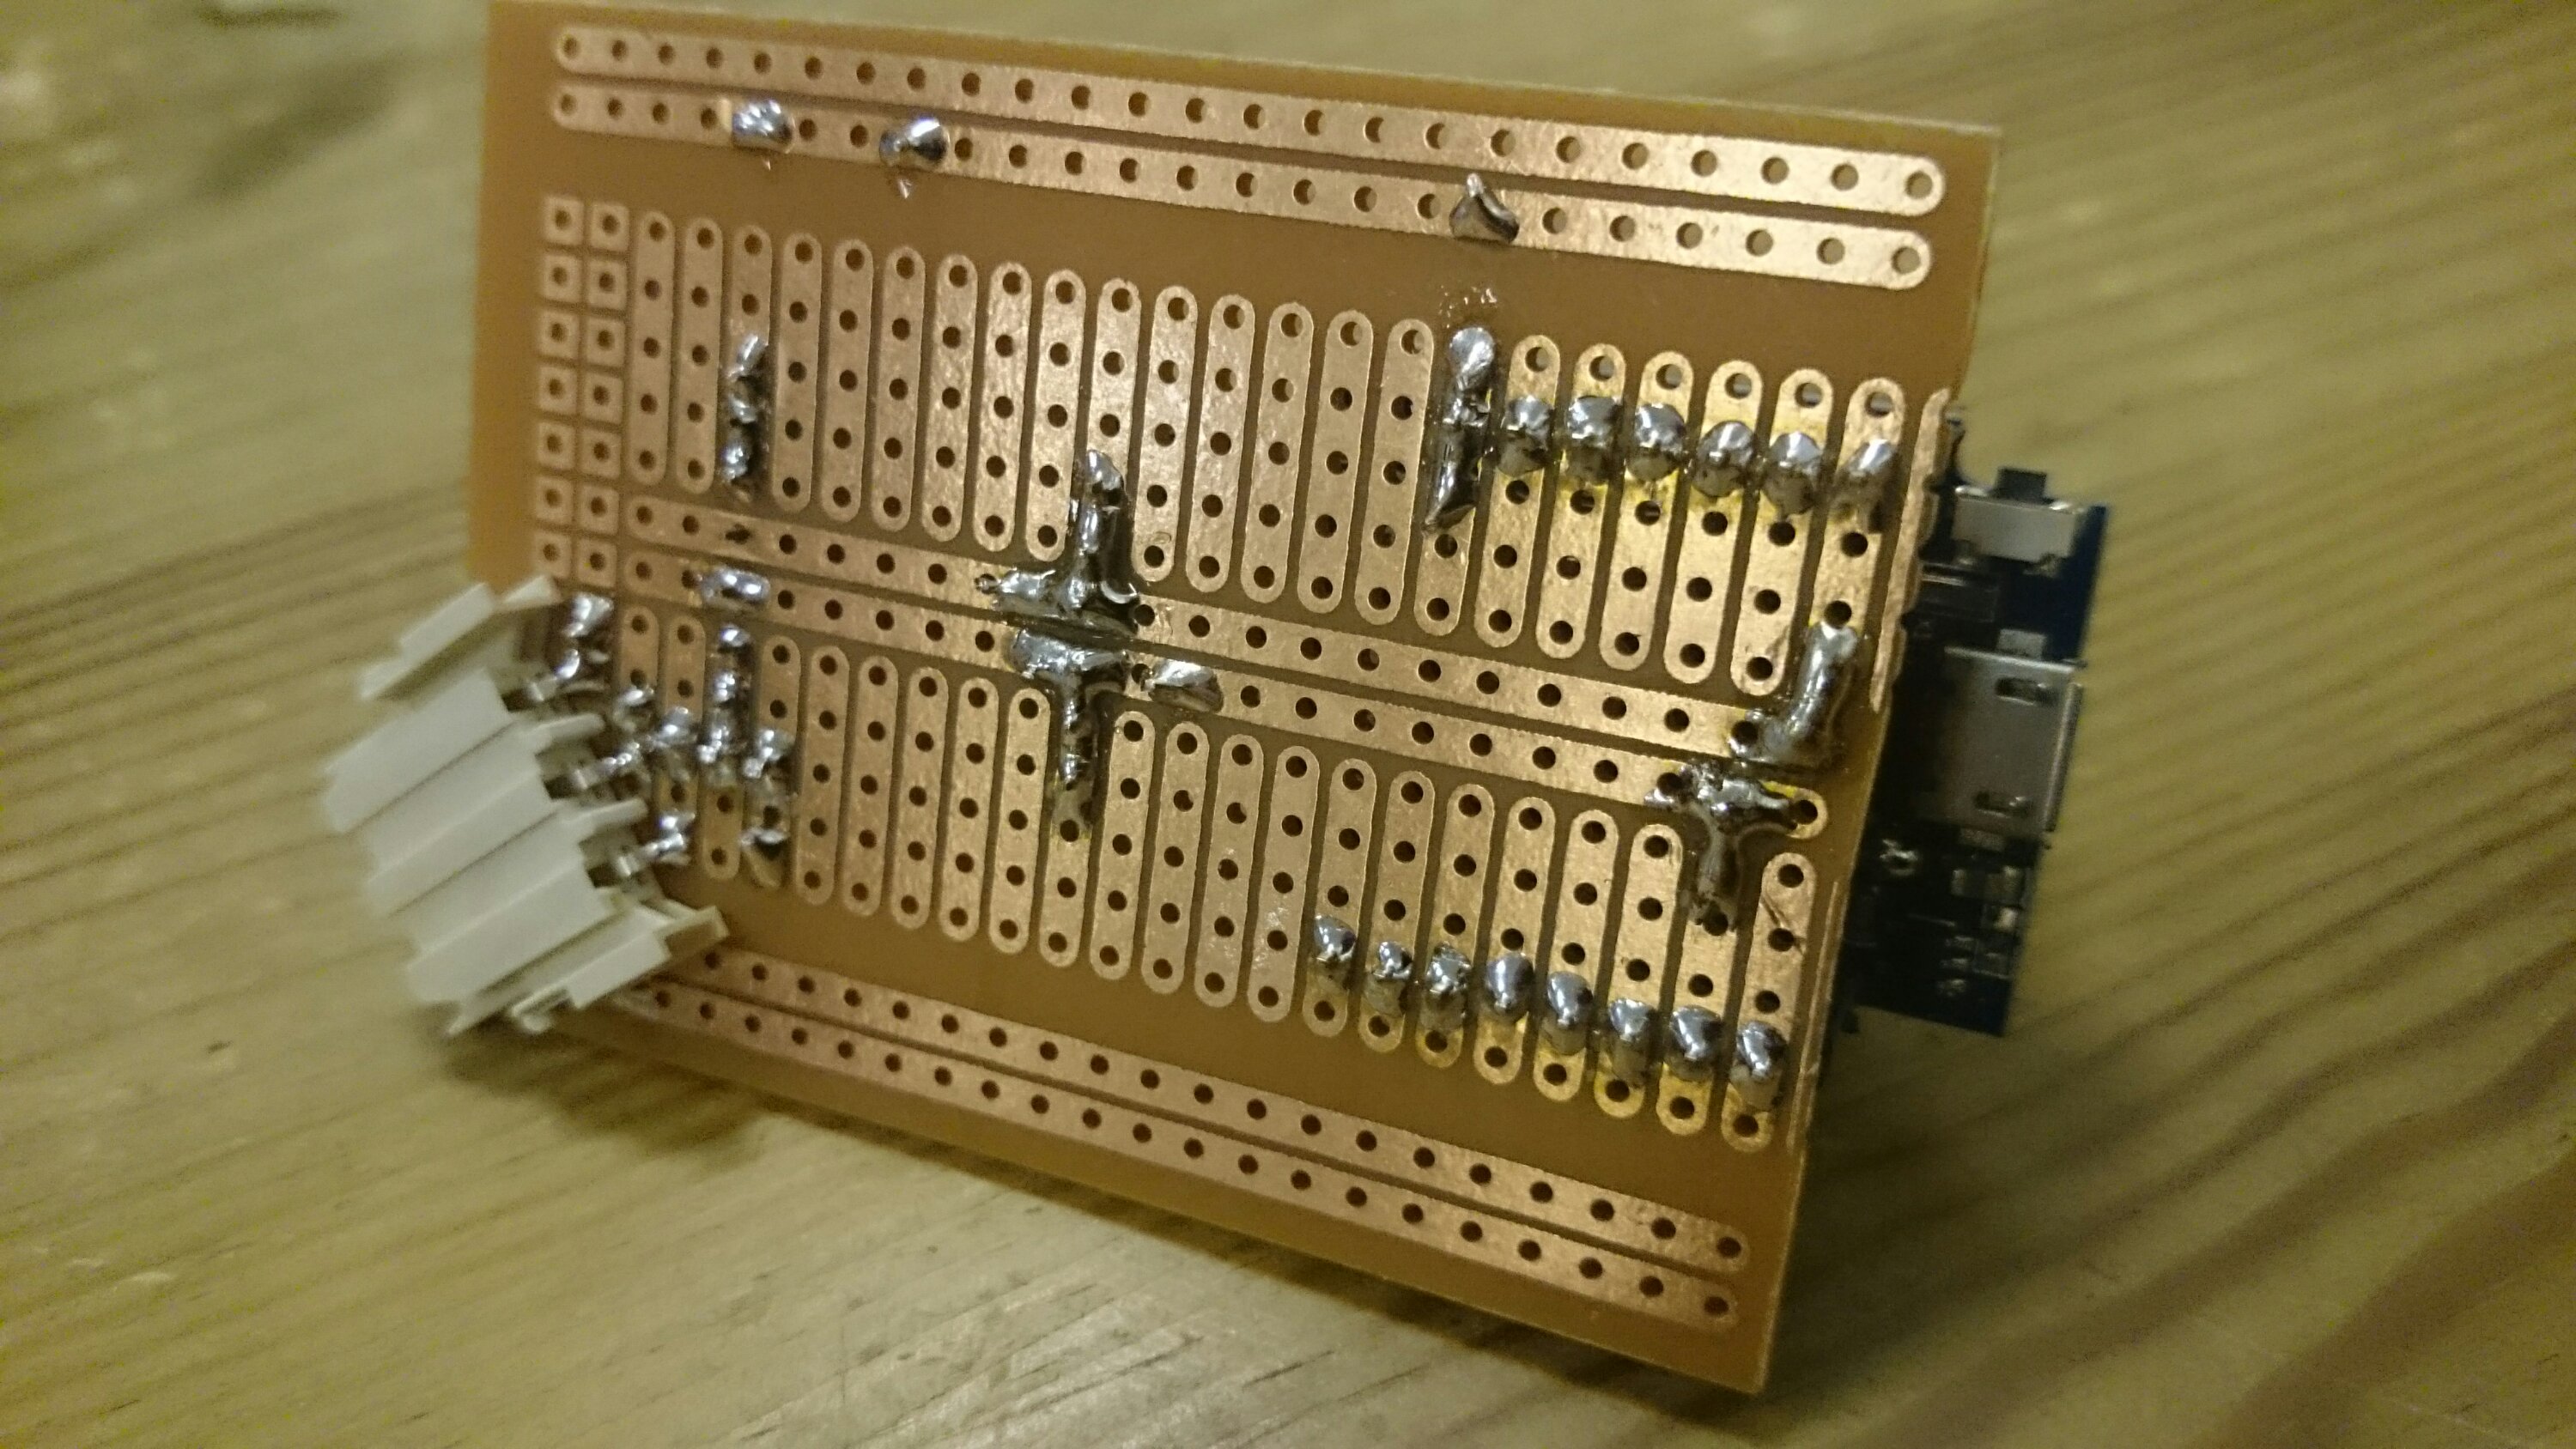
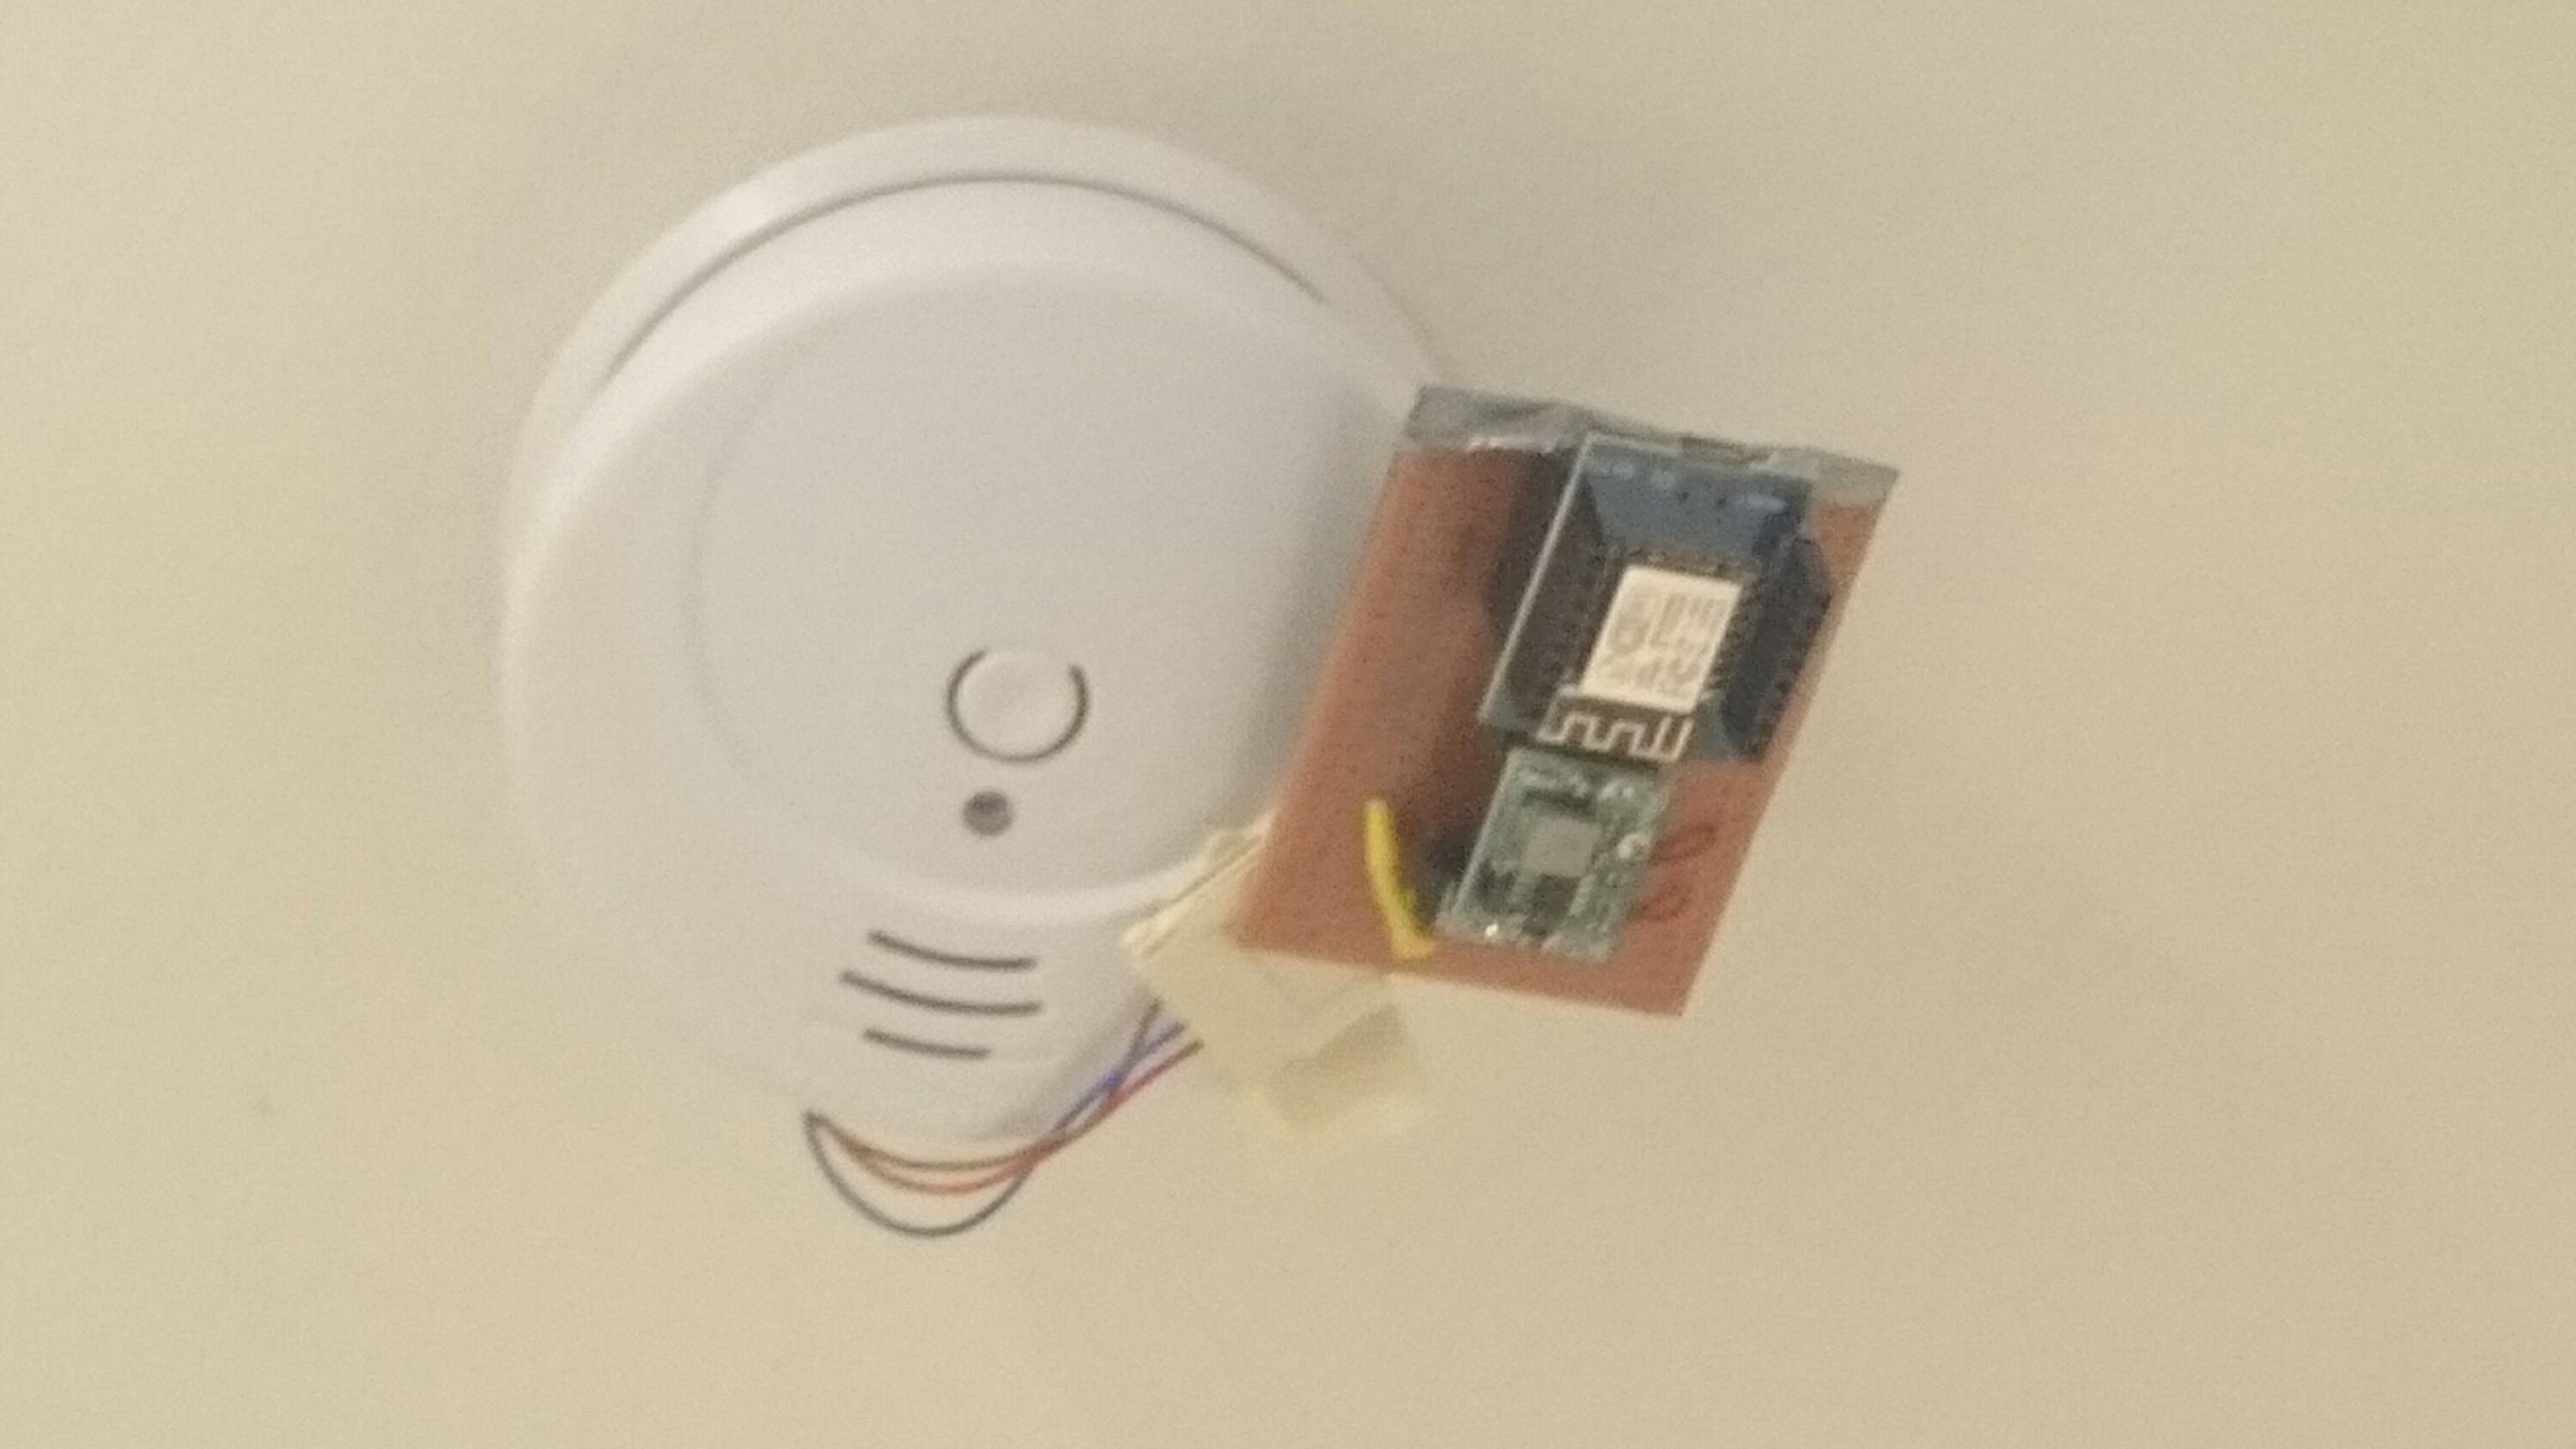
Since all 9V smoke-detectors ICs basically use the same pinout with an I/O-function on pin 7 that pulls LOW when no smoke is detected and HIGH on alarm, they are all equally easy to mod. The SmartWares are smaller than the IKEA ones though, so I did not even attempt to fit everything inside the case. More accessibility traded for lower WAF :)

Note that there are 3V Lithium 10yrs battery life smoke detectors out there, which work a bit differently. For once, the ESP8266 does not run with 3.0V but needs true 3.3V, so at the very least you will need a cheap and tiny boost converter from AliExpress. Furthermore, they do not use a CS2105G0 based chip but a PIC which might not have an pin as CS2105G0-I/O-pin configured.

A word of warning: In order to conserve the battery, the circuit disconnects the whole GND when no smoke is detected. Thus GND and 3V3 of the ESP8266 may be short-circuited through the unpowered buck-converter, depending on your component. So just to be safe, remove the Wemos from the circuit before connecting it via USB.

TESLA-Tisch-Fehlerfall: +9V über Erde

Heute hatten wir einen kurzen Aha-und-WTF-Moment beim Basteln eines WIFI-fähigen Brandmelders (ESP8266 der im Alarmfall von der Brandmelderbatterie bootet und eine SMS schickt):

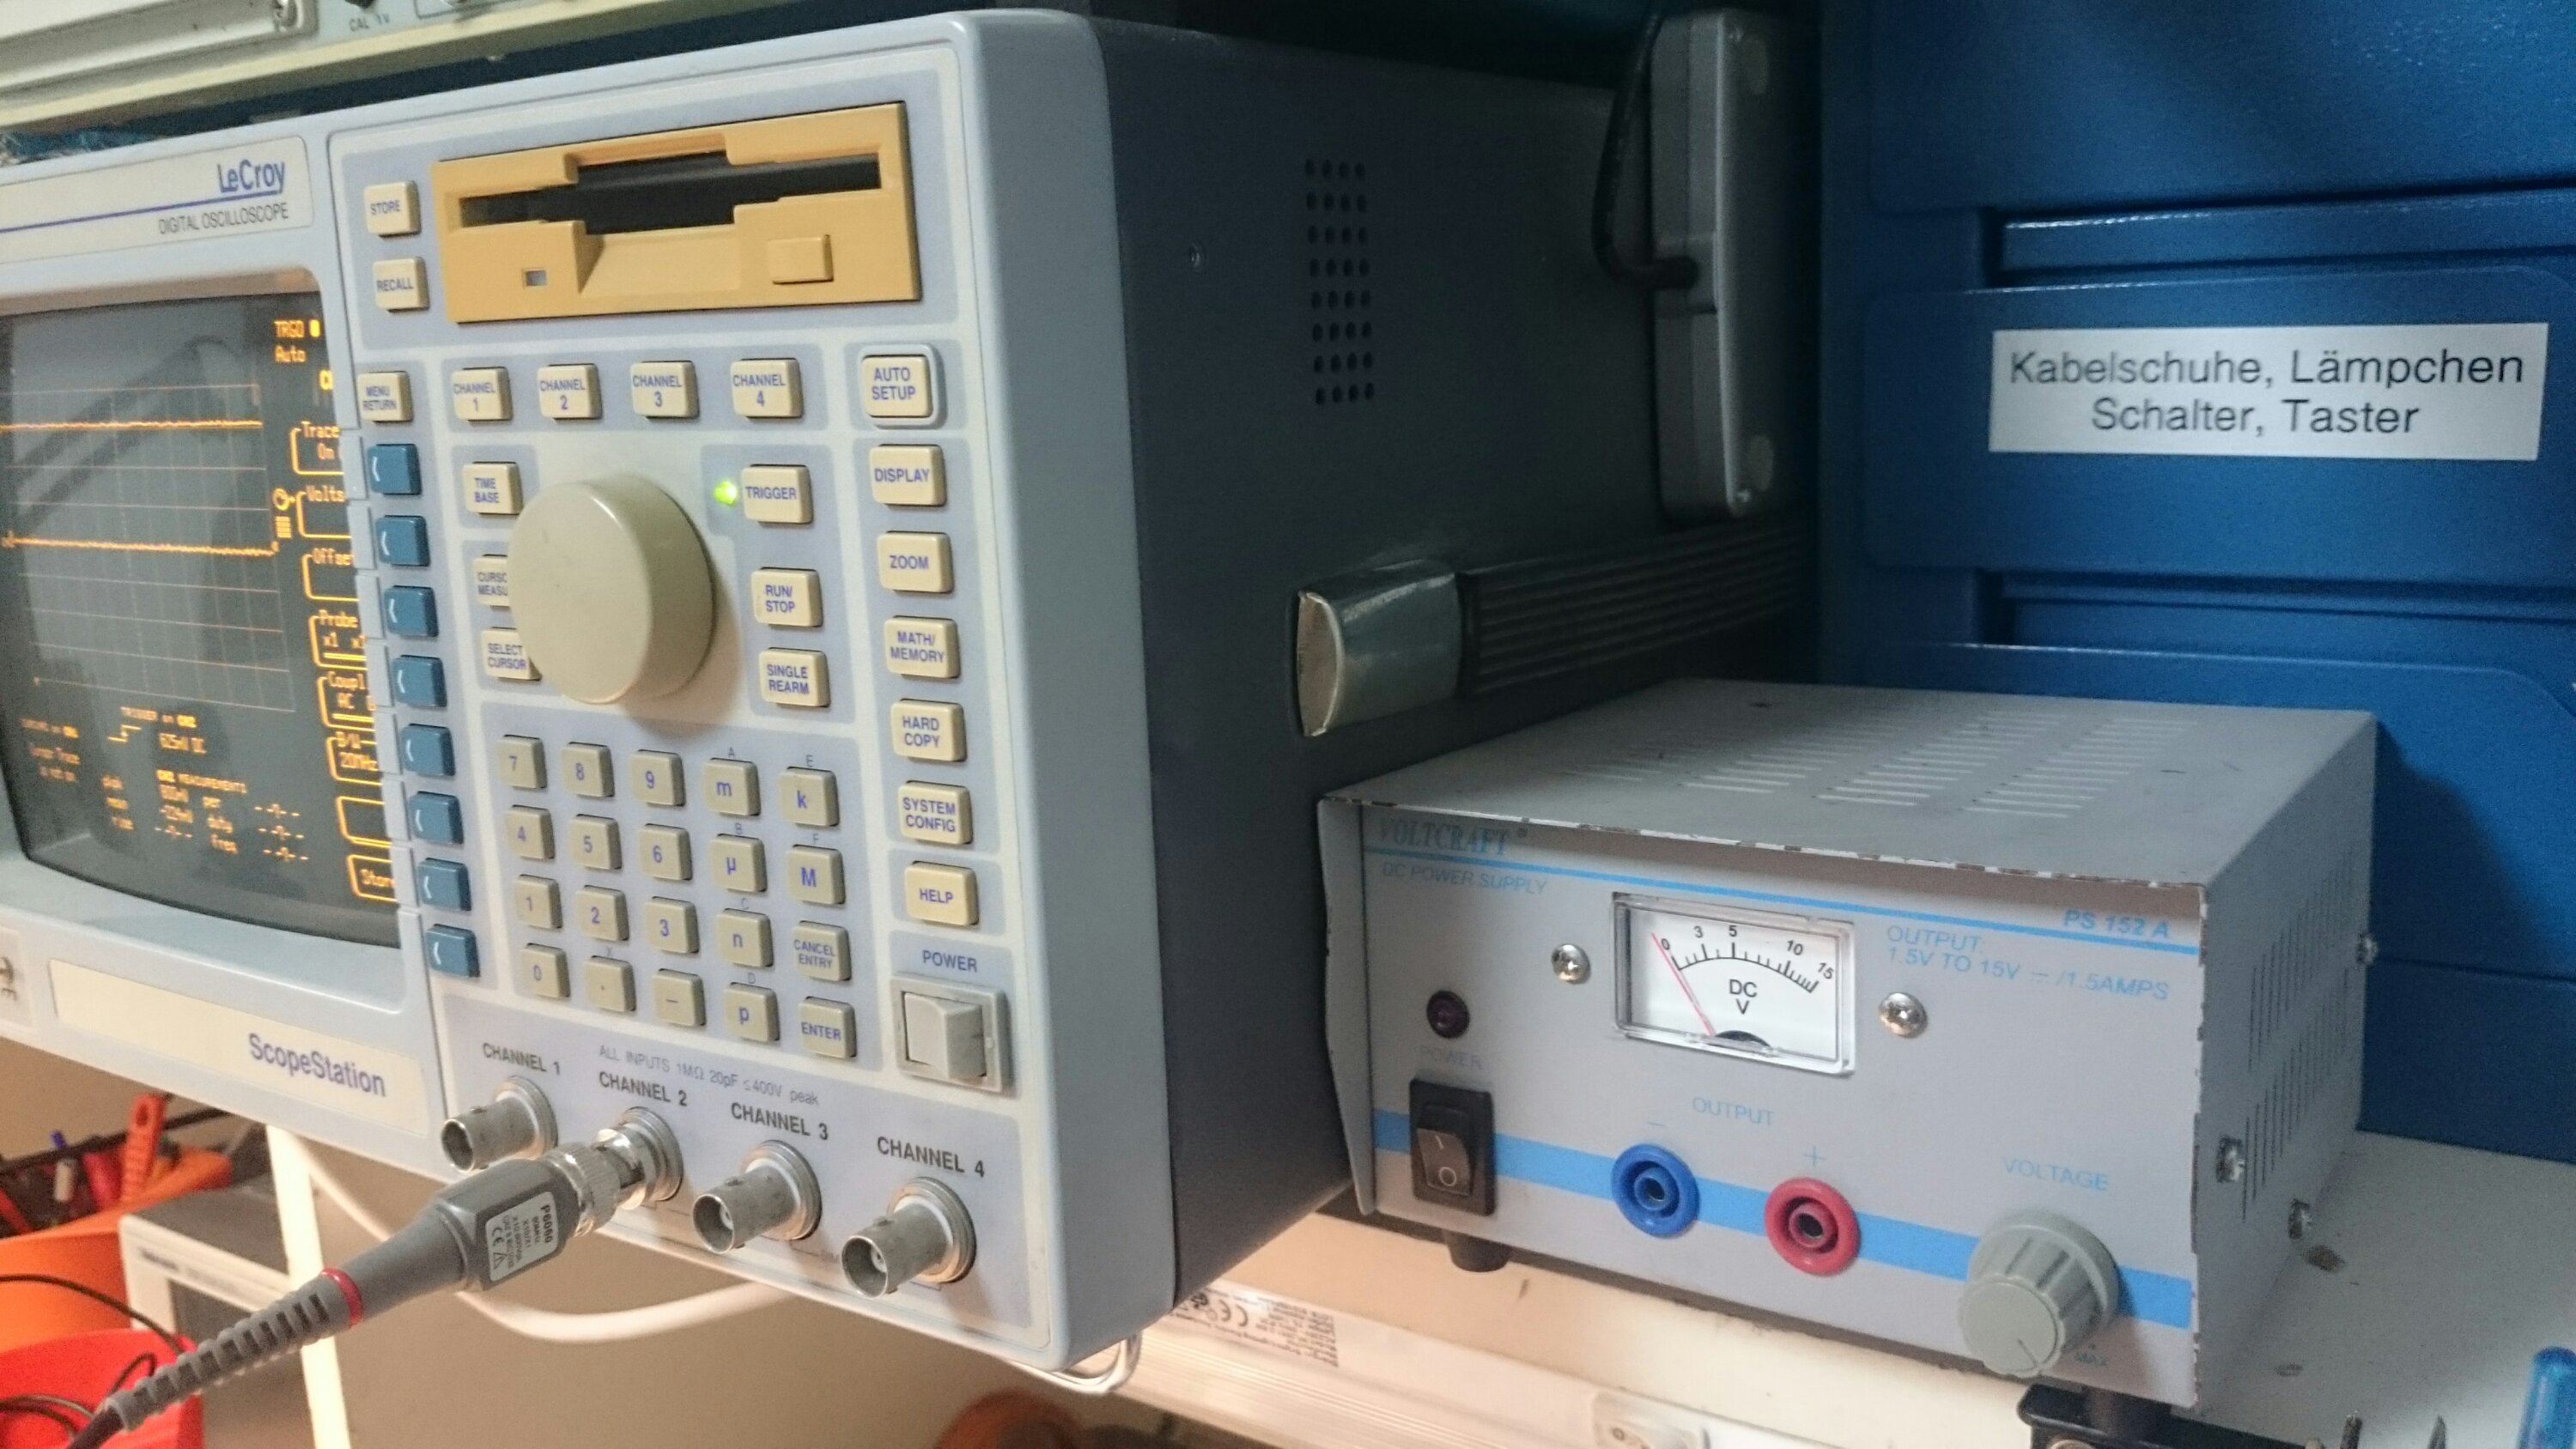
Wir versorgten den Melder mit einem Labornetzteil (9V) und maßen Signale mit dem Oszilloskop. Als wir den Prüfspitzen-GND mit GND der Schaltung verbanden… funkte es kurz! Wie kann dass denn sein?

Daher Multimeter her und mal durch messen! Mhhh, da liegen 9V zwischen dem Minuspol des Labornetzteils und dem Oszi-GND bzw der Oszi-ERDE. WTF^2?

Eine oberflächliche Untersuchung des Labornetzteil ließ gleich vermuten dass die Ursache hier zu suchen sei. Darin scheppert’s! Schraubenzieher her und siehe da, jemandem sind aus der darüber stehenden blauen Sortierbox Unterlegscheiben gefallen und zwar genau in die Lüftungsschlitze des Labornetzteils. Diese haben im Netzteil einen Kurzschluss zwischen DC+ und dem Gehäuse verursacht. Das Gehäuse ist natürlich geerdet, so war DC+5 über die Erdung des Stromnetz mit der Erde des Oszilloskop kurzgeschlossen.

Das erklärte auch die anfänglichen Messergebnisse. :-)

Mögen in Zukunft bitte Alle aufpassen, dass Nichts in die Lüftungsschlitze der Labornetzteile fällt. Es hätte ja auch wirklich etwas kaputt gehen können!

Saving power of powerful printers

At home, my Samsung laser-printer uses 15W during standby. So, a few years back, in order to save power, I put it on a USB-controlled power-plug. Pretty soon I added a tiny script that would query cups if a print-job was queued and would switch the printer on and afterwards off again. It turned out to be a pretty effective power saving measure.

usbpowerswitching

Our two very big and reliable printers at realraum were even more power hungry, so I wanted to to something similar for the space.

Using the hardware I had on hand, I cobbled together the following:

* A BeagleBone Green to act as cups print-server and to run the python scripts.
* An empty 230V power-plug case, housing a 5V power-supply (for the BB) and a small opto-coupler isolated relay to switch the plug.
* A second power-plug case with a second small opto-coupler isolated relay.

While there is a lot of room for optimization, like a leaner BeagleBone image and better housing for the power-plugs, printing- and power-saving-wise it works very well.

As always you can find our code on Github. Stay tuned for updates.