Laser Engraved Zippo

Engraving Metal
1: Engraving Metal

Years ago we got some horribly expensive foil needed to engrave metal using our laser-cutter. Today is, as far as I know, our first attempt to actually use it.

People always seem to search for a lighter, but then forget to put them back. As a result, even the safely stored ones can never be found when a Bunsen needs to be lit (which we actually have an Piezo for that the evil smokers don’t want to steal) or a flame is needed for some project.

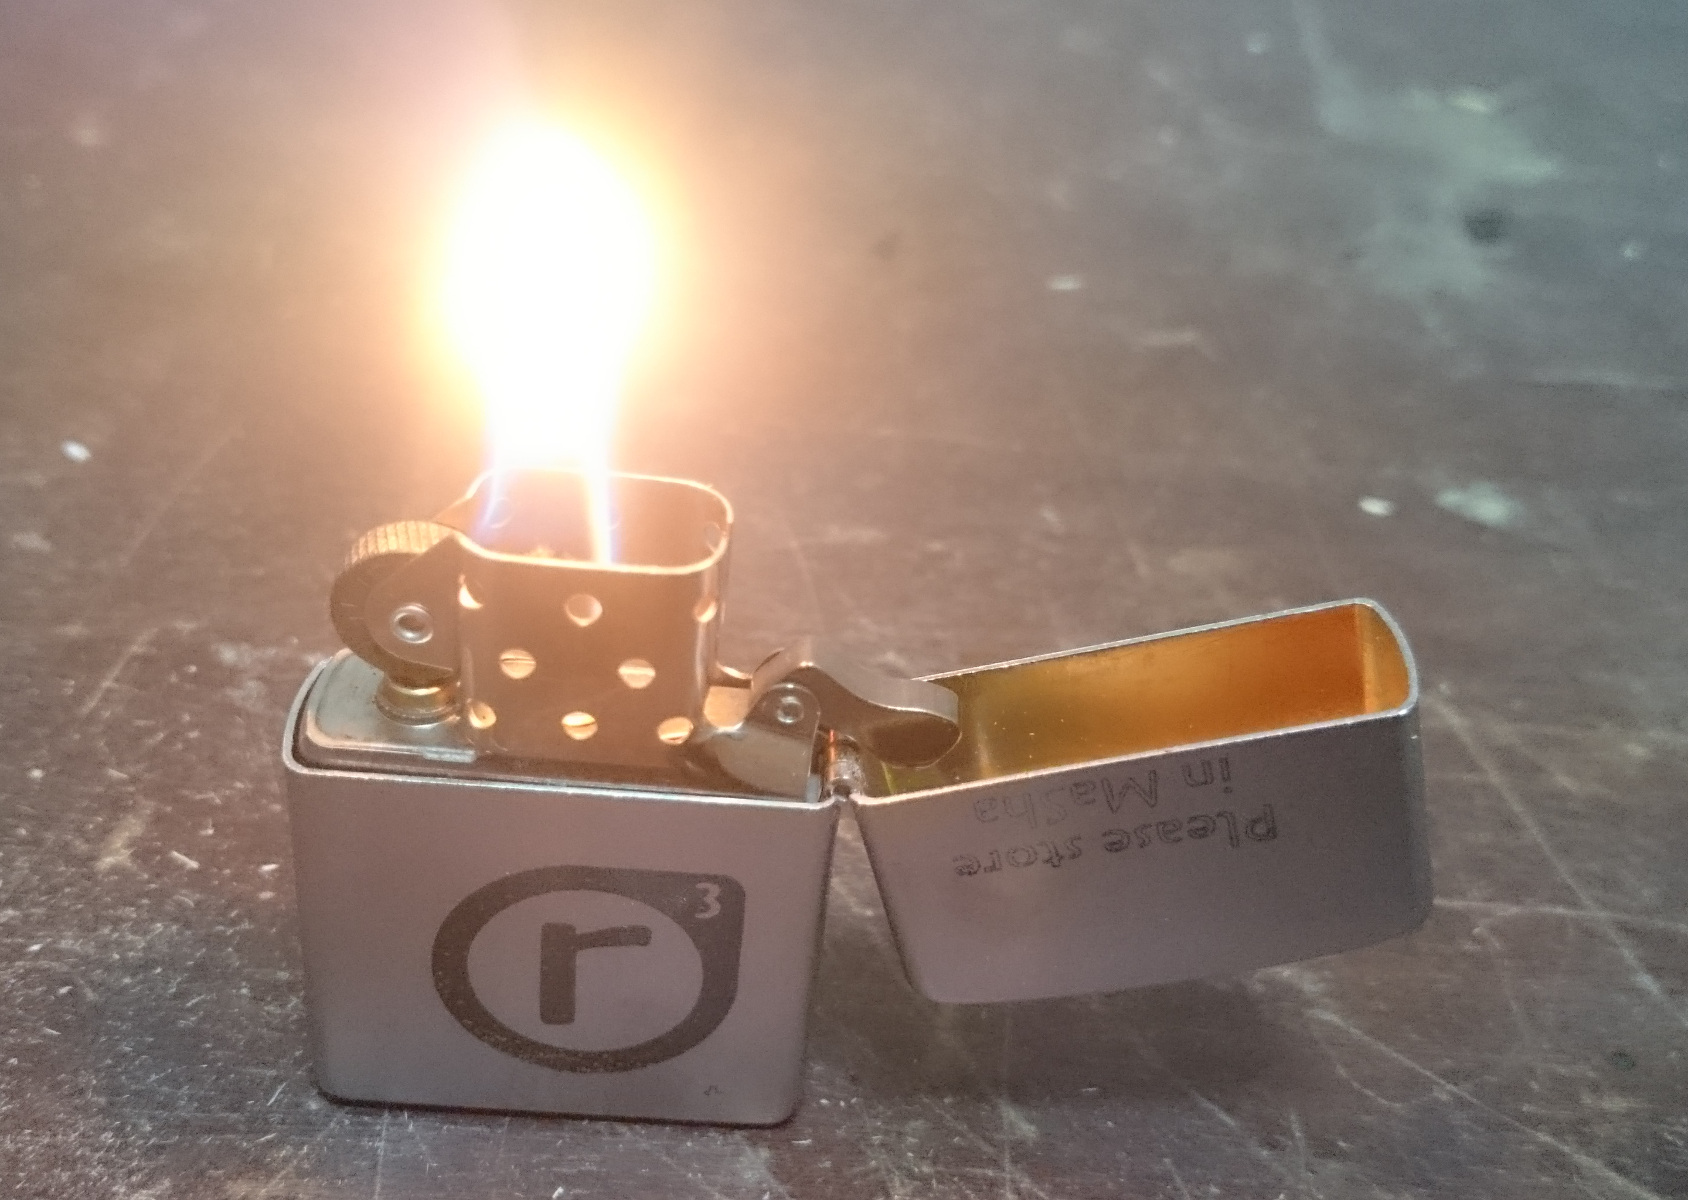
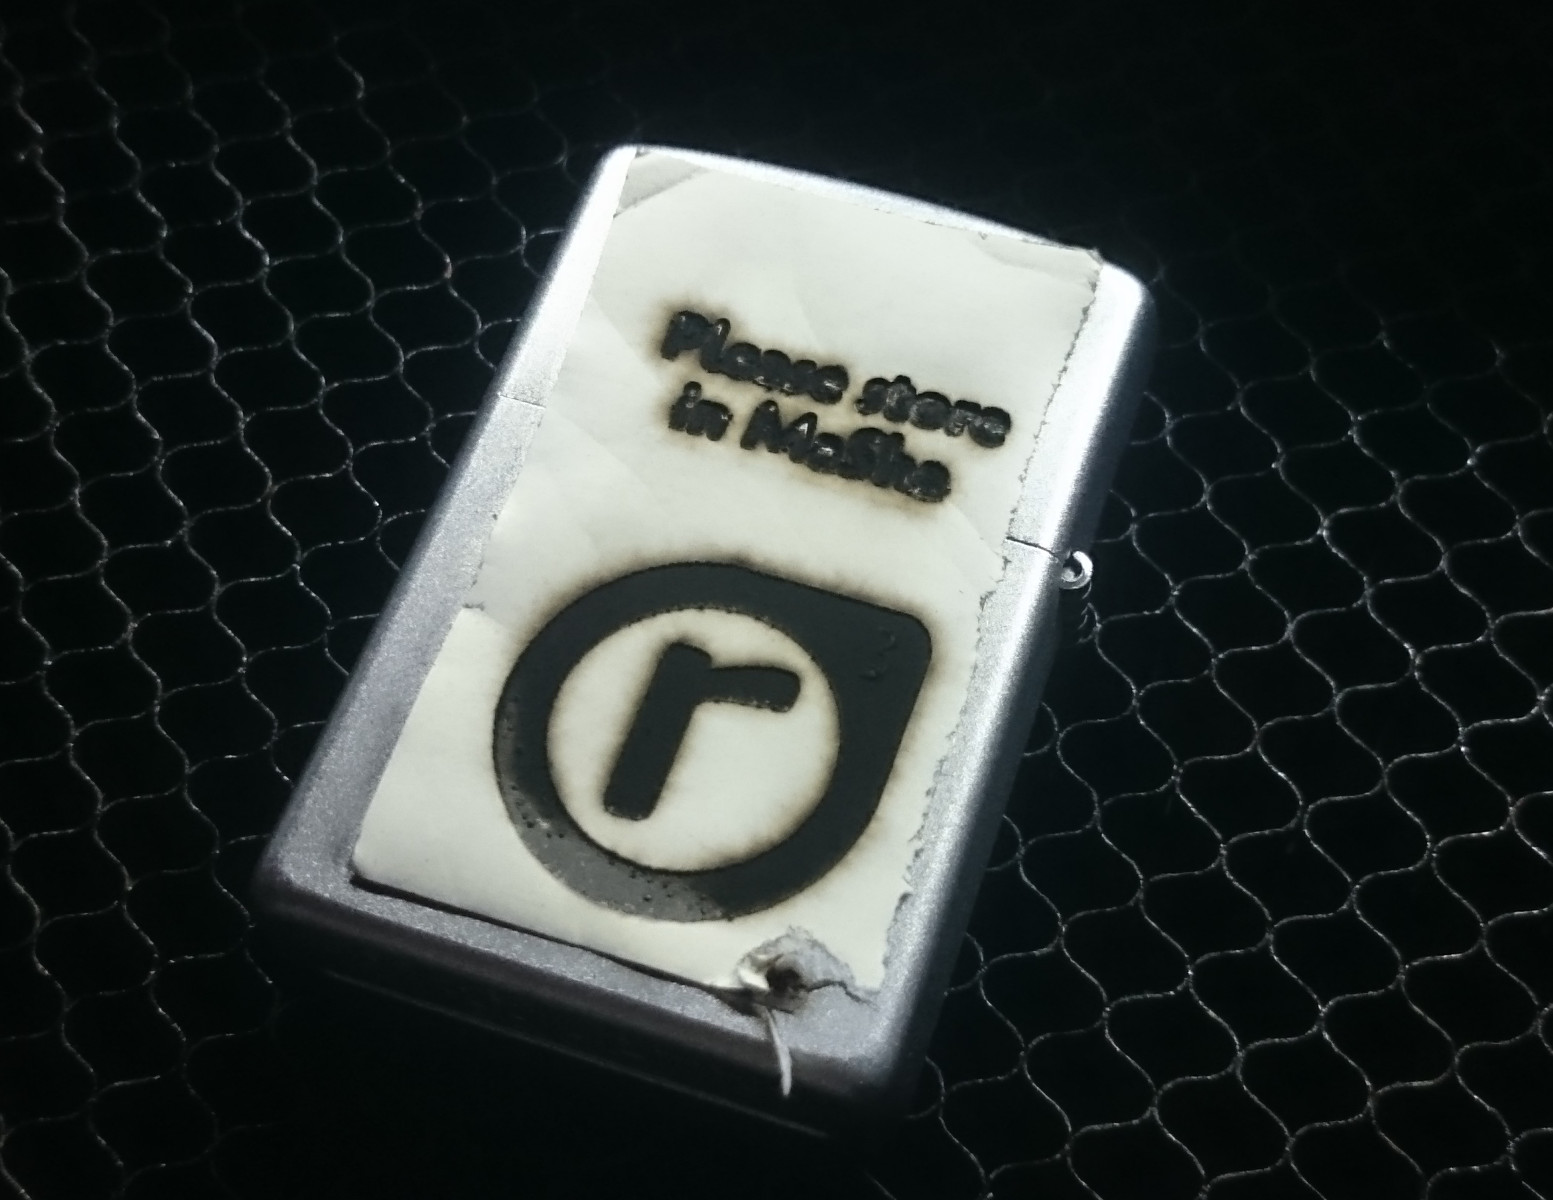
Reason enough to make a big deal out of nothing and sponsor an old but sturdy quality Zippo and mark it permanently with the r3 Logo!

Obviously the Zippo was empty. Just to be safe.

finished engraving with foil still attached
2: finished engraving with foil still attached

Afterwards the burned foil needs to be removed and the surface cleaned.

Finished is the engraved lighter. Not so bad for a first attempt, even though the result could be even nicer. Laser-speed was set to 10mm/s and power to 100% of the 60W.

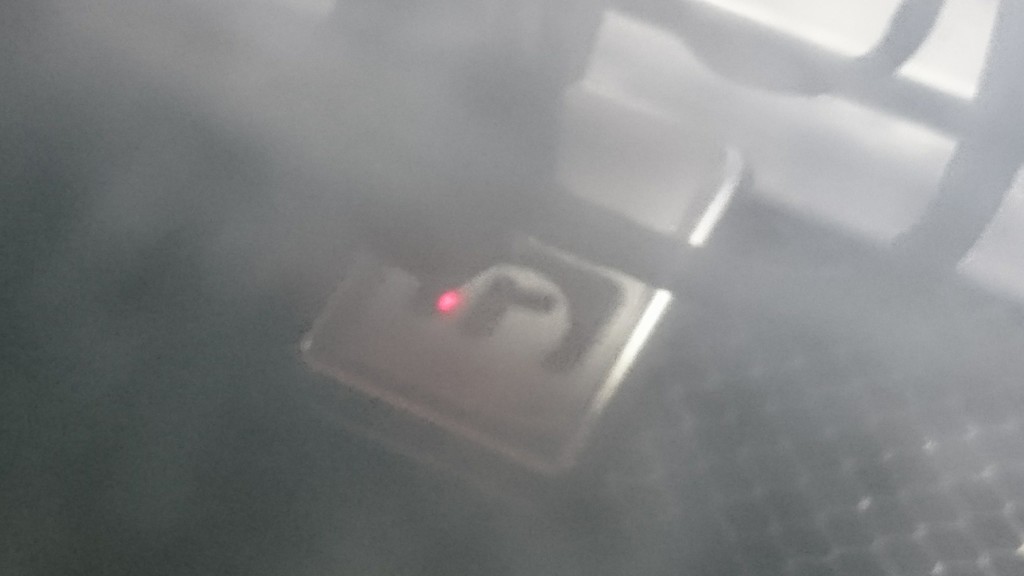
Not to self for next time: don’t trust the red positioning dot without checking if it still corresponds to the actual laser position. The graphic was offset by a few mm. Still worked out though.

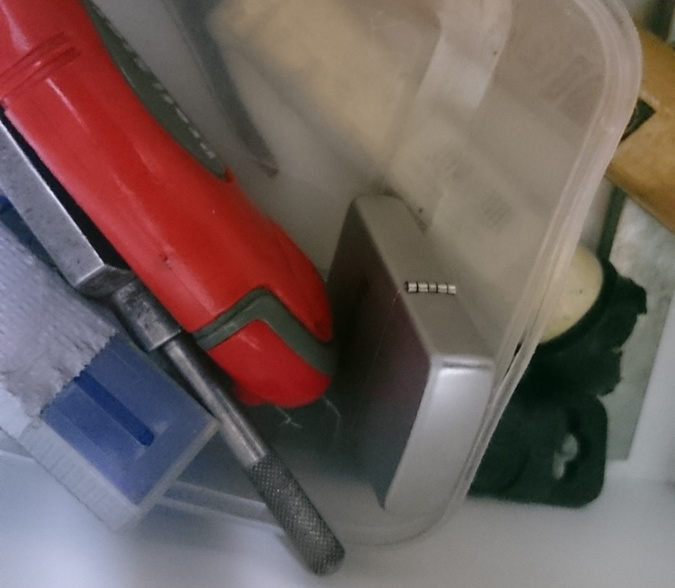
Works! The final working result is now stored in the drawer in Masha. As engraved on the lighter. :-) The lighter fluid is right across from it on the shelf.

Have fun and put it back!

Finished Engraving
3: Finished Engraving
r3 Lighter
4: r3 Lighter
stored in MaSha
5: stored in MaSha

Beispiel der praktischen Anwendung eines 3D-Druckers

„Schnell, schnell! Wir brauchen noch ein wunderbares und nicht käuflich erwerbbares Geschenk für Mama, Papa, Opa, Oma und meine 2 Geschwister. Alles individuell auf die jeweilige Persönlichkeit zugeschnitten.“  …tjaaa, da wird’s meistens schon etwas eng mit der Geschenks Auswahl.

Aber zum Glück sind viele Leute kreativ und können sich dafür etwas ausdenken. „Heureka!“, ruft dann der erhellte Geist und verweist einem auf den Vorschlag, man könne doch kleine Skulpturen der jeweiligen Lieblingstiere schenken (ich selber sammle seit Kindesalter allerlei Figuren von Schildkröten). „Super Idee, Gehirn. Aber wie soll ich das anstellen? Wie soll ich meine Idee in die Praxis umsetzen?“

Und hier kommt der Realraum ins Spiel! Hackerspaces dieser Art sprühen geradezu nur von Kreativität und Handlungsdrang, vor allem wenn sie so gut ausgestattet sind wie wir ;)  Ob Holzgeschnitze, sämtliches Gedrähte (also Draht) zum Biegen und Löten, dünne Holzplatten, verklebbare Teile oder individuelle Kunstwerte aus Plastik,…mit unserer Werkbank, dem Lasercutter oder dem 3D Drucker sind die Möglichkeiten mannigfaltig. Wer noch ungeübt ist mit dem Umgang jener Gerätschaften kann sich natürlich Hilfe von den Mitgliedern holen, besser 3x nachgefragt als 1x kaputt gemacht.

So hat man schnell das passende Geburtstagsgeschenk gefunden, in dem Fall mit dem 3D-Drucker selbst erstellt. Wer der Meinung ist, wenig Zeit oder nicht kreativ genug dafür zu sein (so wie ich :P ) kann sich genug Models und Vorlagen aus dem Internet holen.

davdav

LaserAccess Updated

Updated the Laser-cutter access control box today. Major changes include.lasercutter_zeit_und_karte

  • Now features a big flat space that will happily hold your RFID access card, token or whole wallet. No more fumbling and trying to get a card to stick to the side of the box
  • Dedicated holder for USB-sticks, the laser-cutter key and the focus distance measurement spacers.
  • Dead-Person-Button – remaining time indicator lights are more diffused by the cover and thus more muted.

The basic logic remains the same.  Once you went through the laser-cutter introduction and got access, just put your RFID token on top of the reader. The beep and the green bar indicates the laser is now hot and you can start cutting. Press the DeadPersonButton while the bar is still green to indicate you are watching and realraum hasn’t burned down yet. Remove the card when you’re done. Beeps and blinks will indicate that laser is now being disabled.

See the wiki for more.